Abraham and Sarah – Play Through The Bible – Week 4
For week four of Play Through The Bible we are diving into the story of Abraham and Sarah. There’s a lot that goes on in Abraham’s life as God chooses him to be the first of His chosen people. The stories we read kept the focus on God keeping his promise by giving Abraham and Sarah a son and I thought that was a great first place to start!
If you haven’t read the introduction to this series yet I recommend going here. For all the previous plans, go here.
Week Four – Abraham and Sarah
Focus Point
God keeps his promise.
Story Time Tips
- We read “Abraham’s Prayer” starting on page 40 of The Rhyme Bible Storybook
and “The Promise” starting on page 30 of The Rhyme Bible Storybook for Toddlers
.
- Take some time to practice saying “Abraham.” It’s one of the trickiest names we’ve had so far!
- Focus on how Abraham and Sarah wanted a son more than anything.
- The toddler version of the story is great for its simplicity, however it doesn’t include the illustration of the stars. Even though the correlation between the stars and Abraham’s descendants is a difficult concept for a toddler to grasp, I still think it is a really cool part of the story, so we decided to include it by reading the story in the original Rhyme Bible too. We talked about how Abraham was going to have as many people in his family as stars in the sky. Even though K still didn’t quite grasp it by the end of the week, he was close. He will be ready for a deeper understanding next time we study Abraham, especially now that he’s already familiar with it.
Activity
Go outside at night after dark and take some time to look at the stars. This could be as simple as a few minutes outside before bedtime or be turned into a longer event by laying a blanket out on the ground and having some snacks. Try and count the stars together. Talk about how God told Abraham there would be as many people in his family as stars in the sky.
If you live in an area that doesn’t have a very good view of the night sky or the weather is bad the week you are doing these lessons, you could also do a Google search for images of a starry night sky and look at those while you discuss.
Discussion
Parent: “What did Abraham and Sarah want?”
Child: “A baby boy.”
Parent: “Did God say they’d get one?”
Child: “Yes.”
Parent: “Did God keep his promise?”
Child: “Yes!”
Parent: “Yes, he did. God always keeps his promises.”
Daily Craft
Day One – Abraham and Sarah Coloring Page
http://www.bible-printables.com/Coloring-Pages/Old-Testament/10-OT-006-abraham.htm
Day Two – Abraham’s Tent
- Paper sack
- Markers
- Scissors
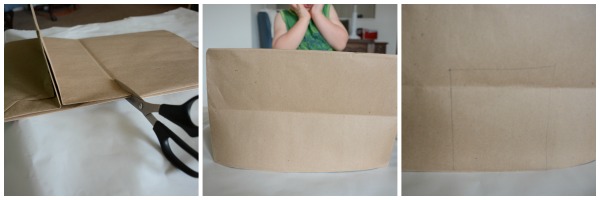
First, take your scissors and cut the bottom of the bag off at the crease. Set it up and trace a doorway on the side. Then, cut the doorway out.
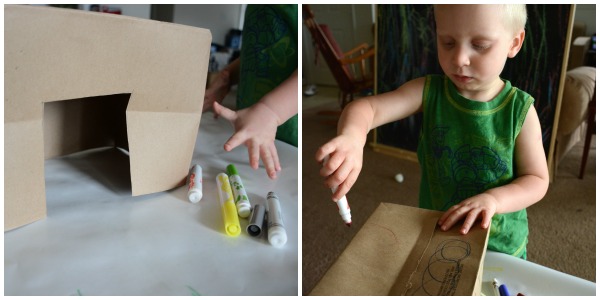 Grab your markers and decorate your tent a bit.
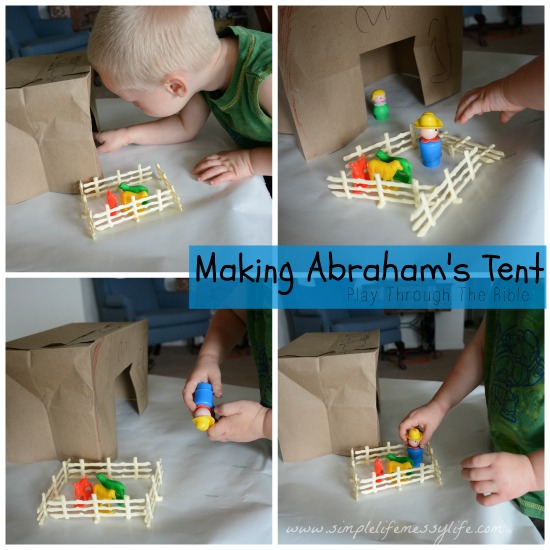 We grabbed a few people and sheep for some pretend play. Farmer Abraham? Works for this 2 year old!
Day Three – Stars in the Night Sky
- Black piece of construction paper
- Yellow (or white) paint
- Small paintbrush (or Q-Tip)
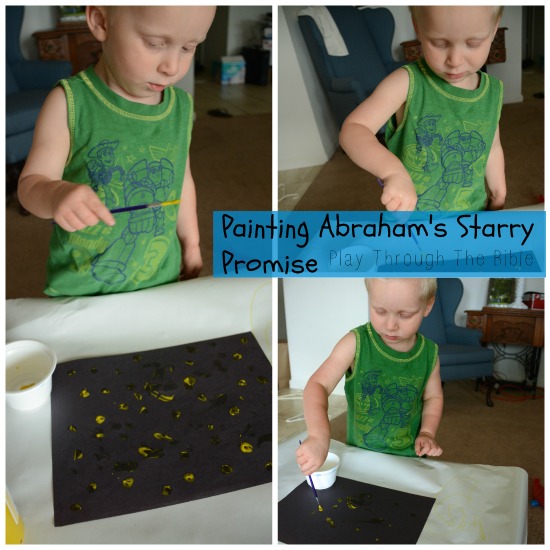
Use the paint to make starry dots on the black paper “sky.”
Day Four – Family Stars
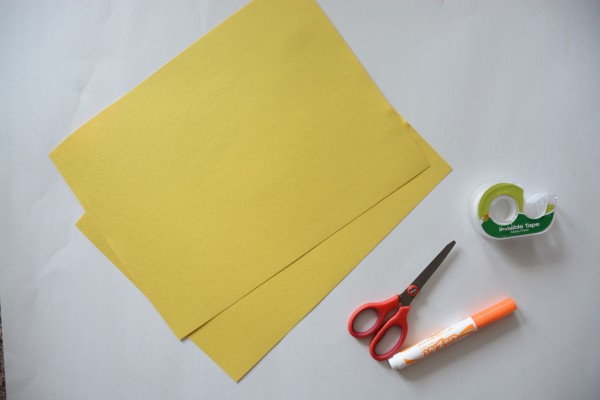
- Yellow construction paper
- Scissors
- Marker
- Tape
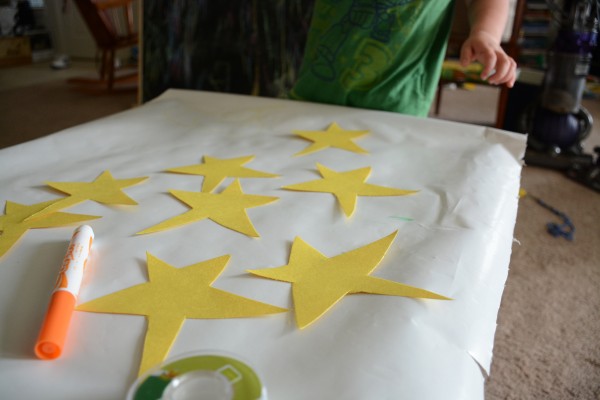
Use the scissors to cut the yellow paper into as many stars as you want. If you don’t want to free-hand the stars, just search for star templates like this one.
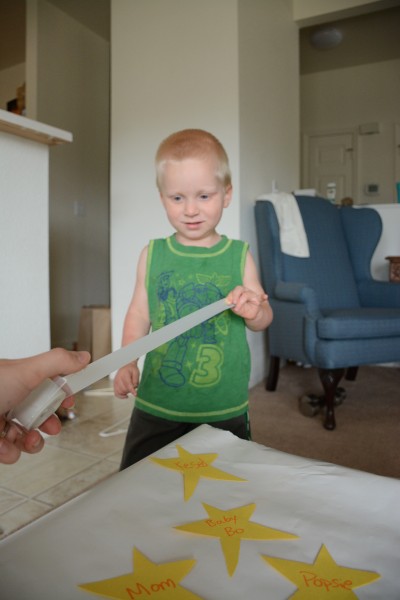
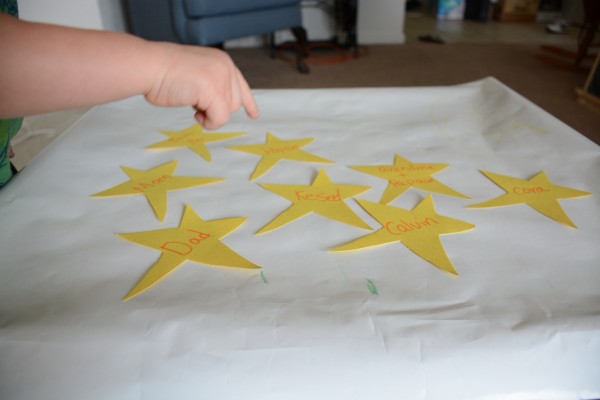 Write names of family members on your stars. I cut out eight stars, so we just wrote down the first eight K could think of.
 Place the stars along the tape.
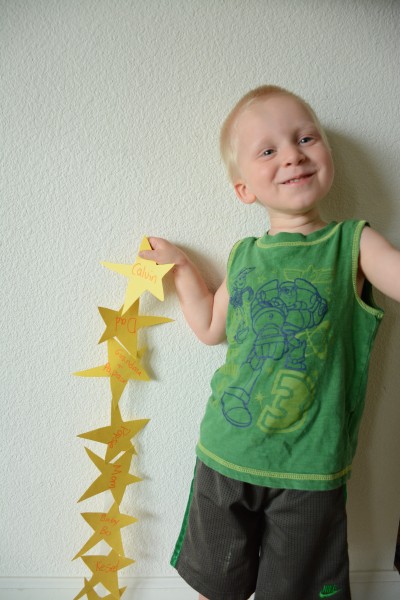 Now you have a lovely star garland. You can hang it up somewhere or….
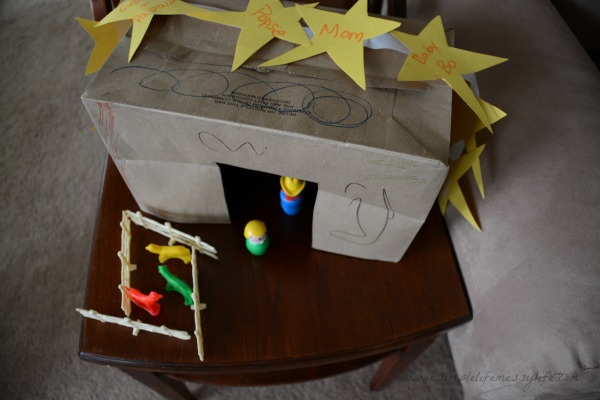 …K’s idea was to put it on top of his tent. Fun!
Day Five: Baby Isaac
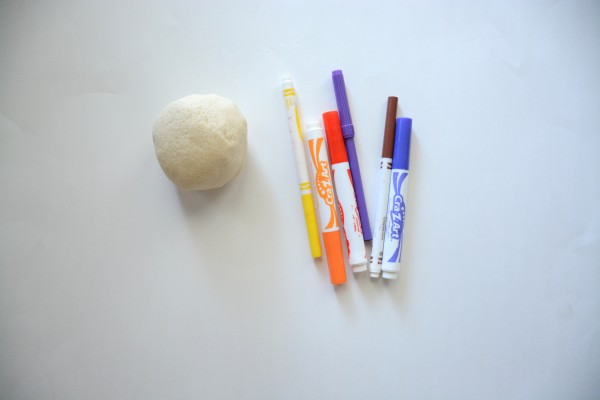
- Salt dough (check out the super easy recipe here)
- Markers
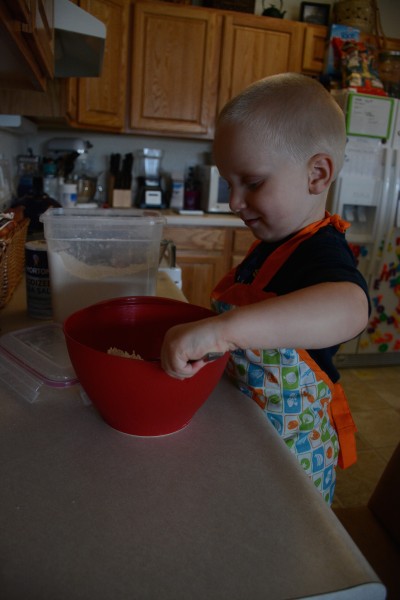 First, you need to mix up your salt dough. All it is is salt, flour, and water. Check out the recipe linked to above or do a Google search – there’s tons of recipes out there. It’s really easy to do and only took us a few minutes. If you’d rather not mix up your own salt dough, you can always use store bought play-doh. However, it might not dry as well.
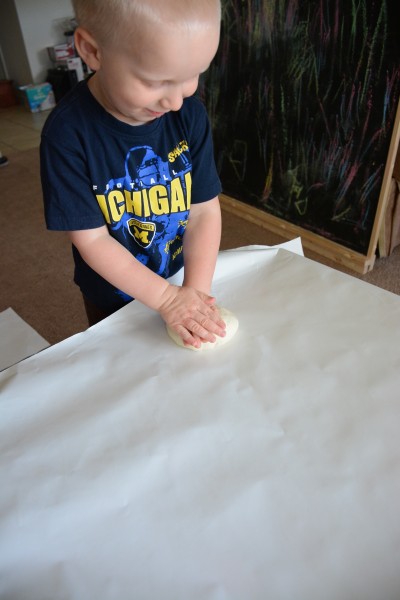 Once your dough is ready, you might need to take just a minute to squish it.
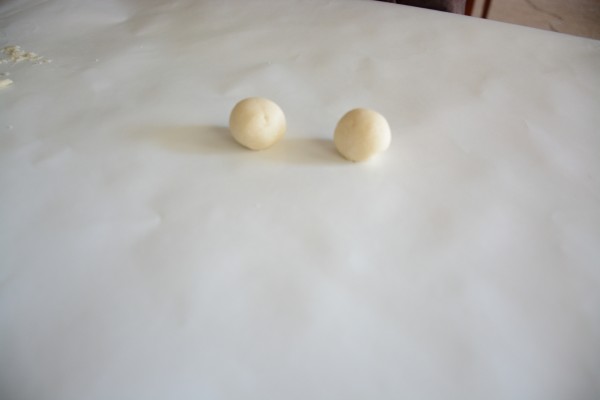 Roll a small amount of the dough into a ball for the head (we made two, just in case!).
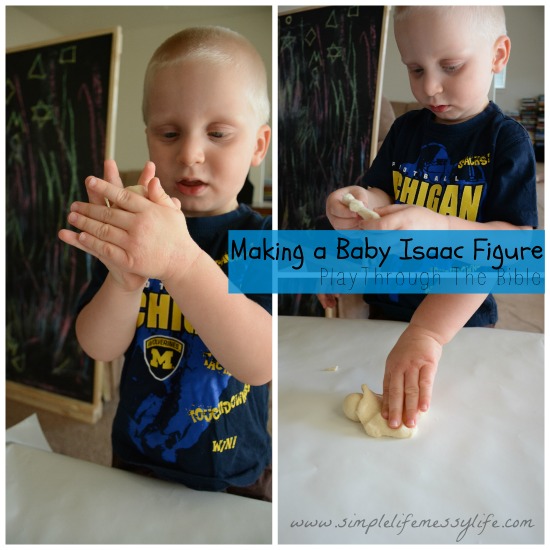 Then, squish another piece of dough into a flat blanket shape and wrap it around the base of the head.
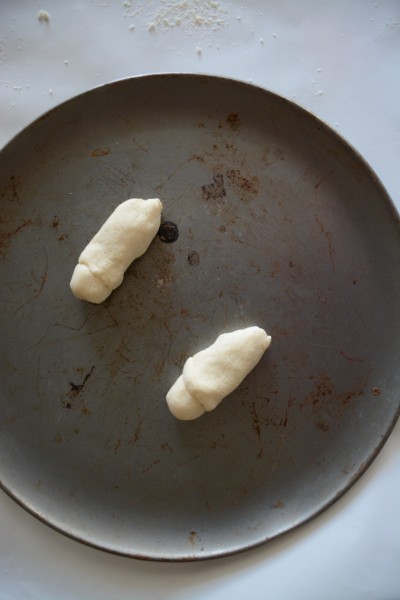 Place your figures on a baking tray and place in the oven to dry. Different recipes call for different temps and times. We put ours in at 200 degrees and I left it in for most of the afternoon, checking occasionally to see if it had hardened up. If you can’t or don’t want to babysit it in the oven, you can also just leave it out to dry at room temp, although it may take a few days.
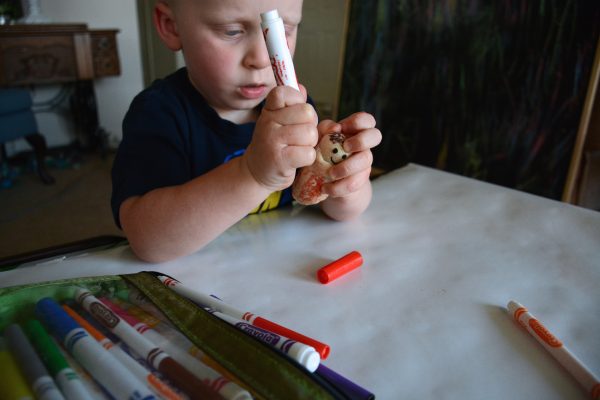
Once your baby Isaac is dry, use the markers to color it in. I added a simple face and some hair and K colored in the blanket.
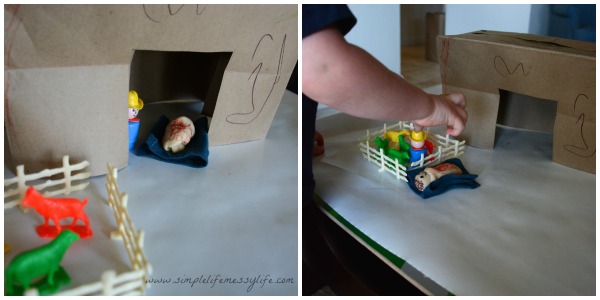
Add Isaac to your tent with Abraham and Sarah. Thankfully K didn’t seem to mind that the baby was the same size as Abraham!
Extra Resources
K absolutely loved the catchy version of Father Abraham by Yancy! Search for it on YouTube!
I hope you enjoyed week four of Play Through The Bible. I’d love to hear from you! Leave a comment below or use the hashtag #playthroughthebible on Twitter or Instagram!
Affiliate links included.


