Baby Moses – Play Through The Bible – Week 6
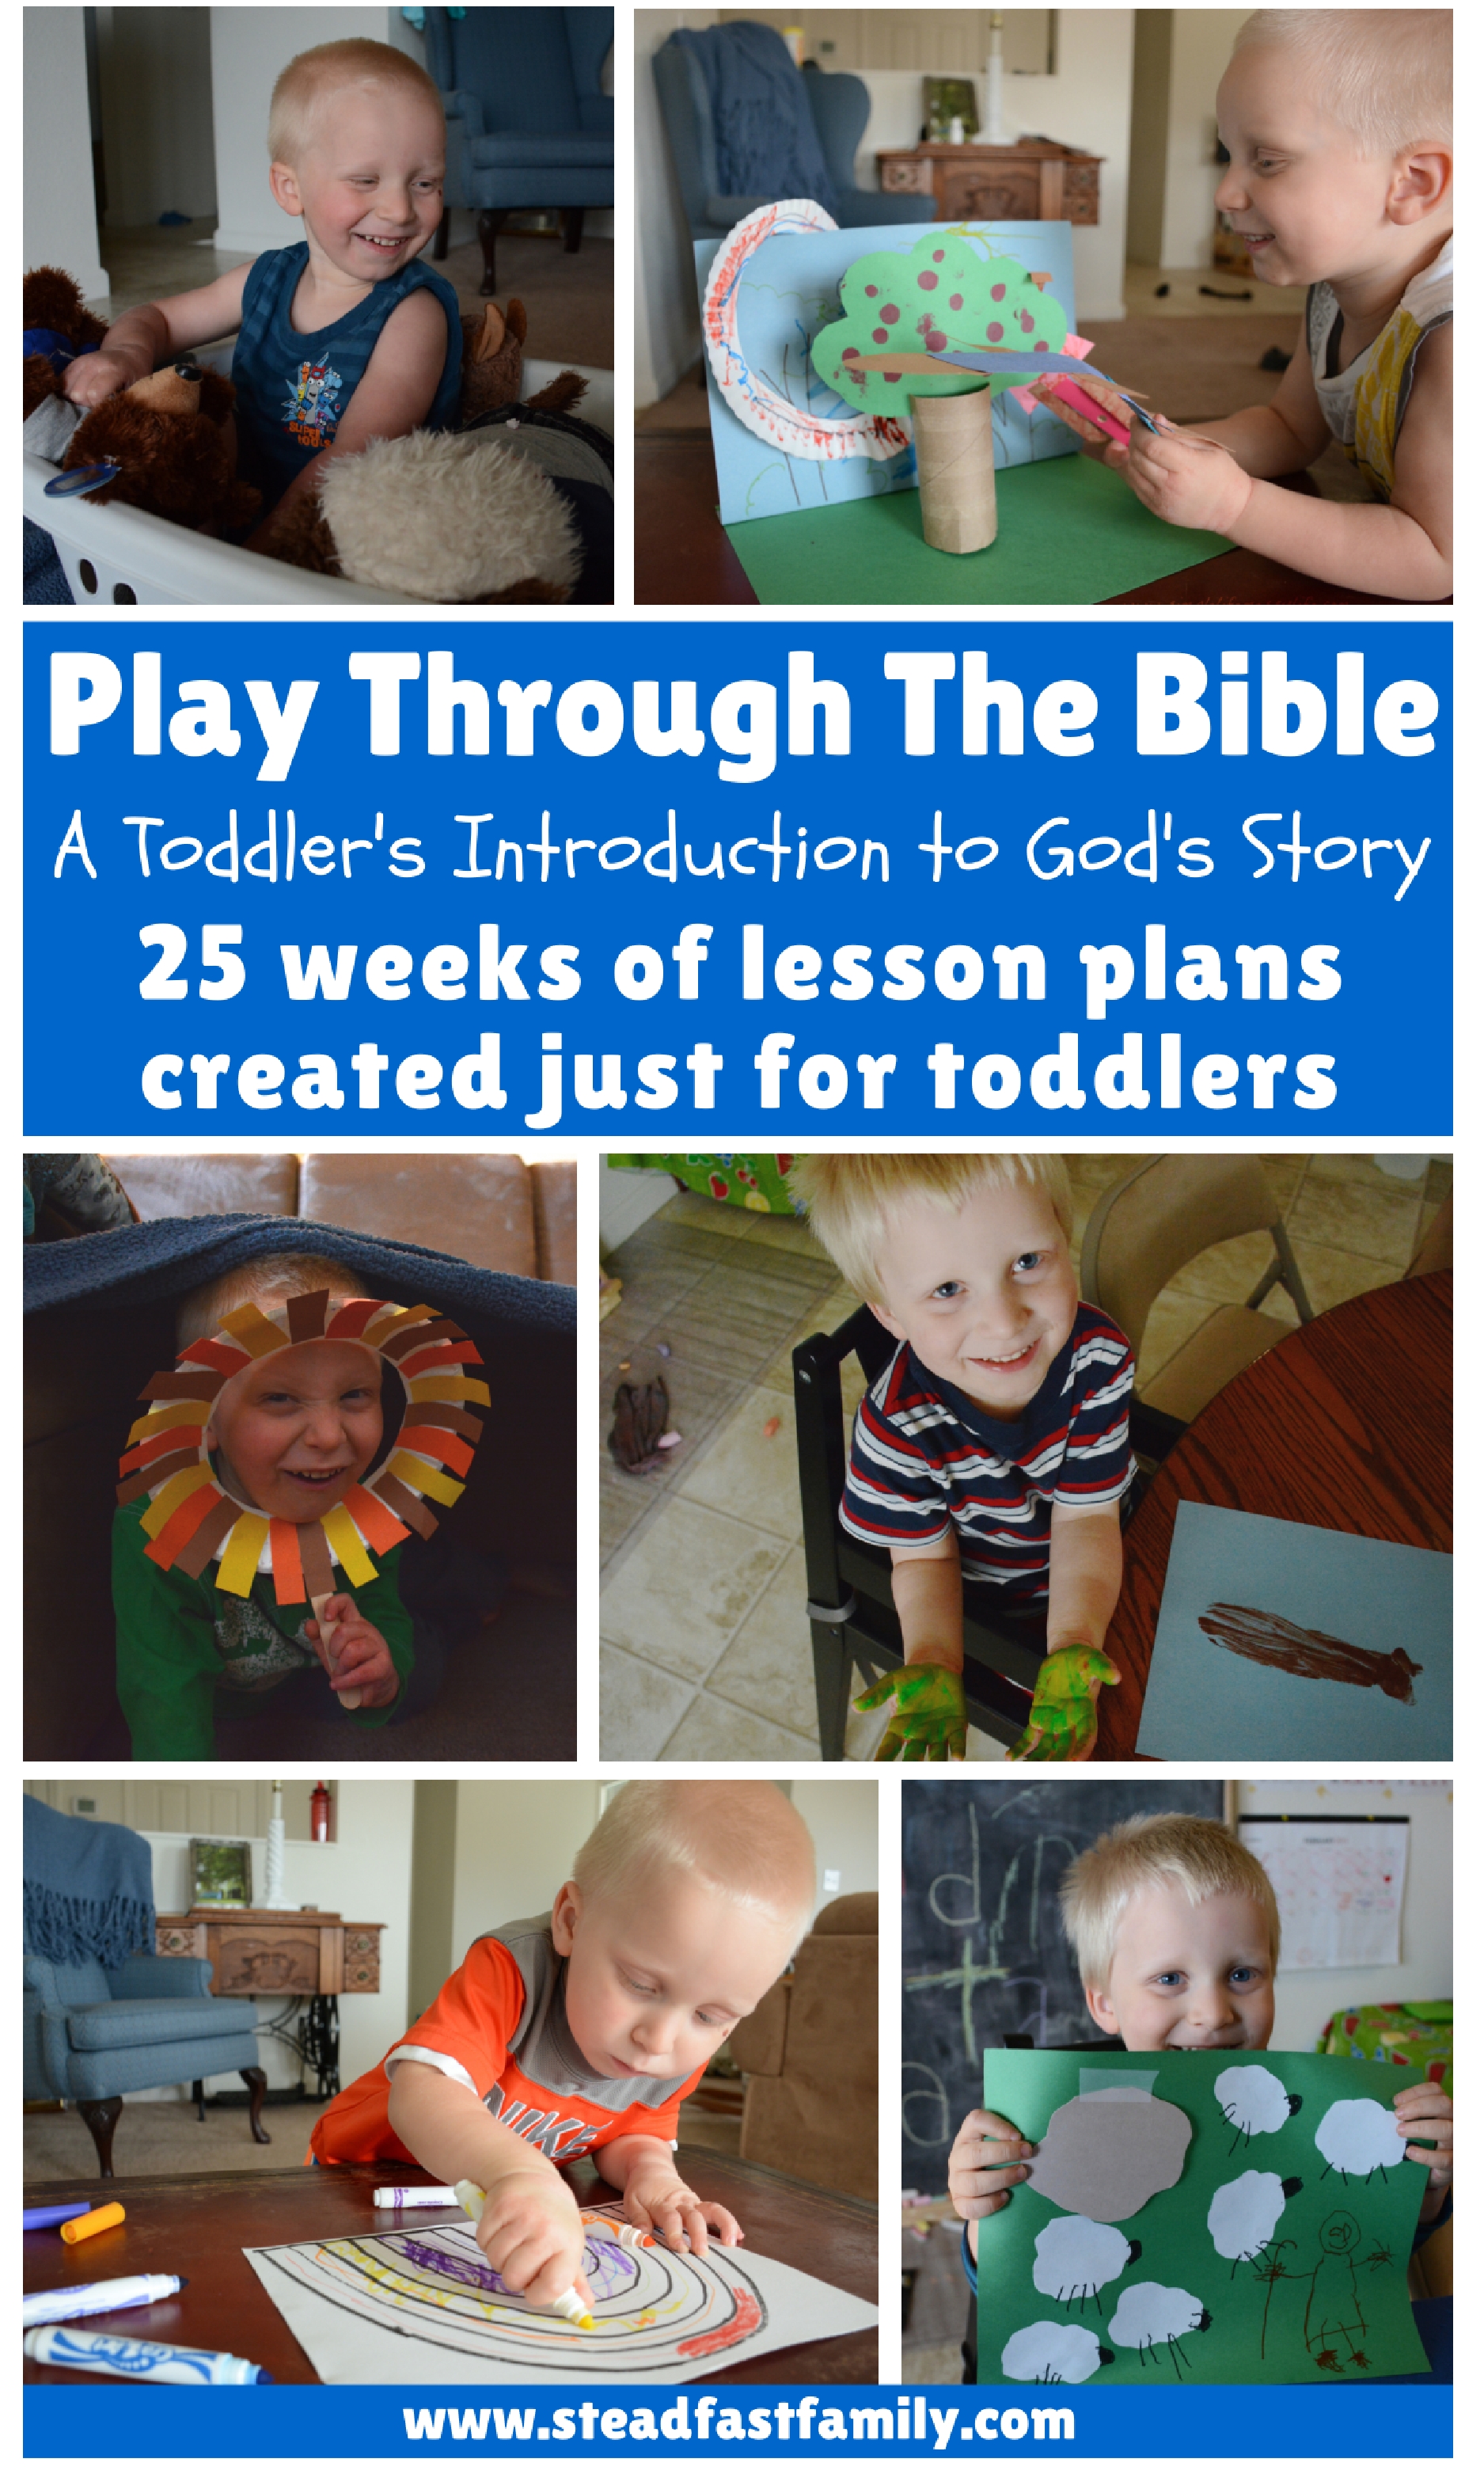
Week six of Play Through The Bible focuses on the story of baby Moses. It is a fun story that is always popular with the little ones.
If you haven’t read the introduction to this series yet I recommend going here. For all the plans in one place, go here.
Week Six – Baby Moses
Focus Point
Moses’ mother saved him from Pharaoh by putting him in a basket in the river.
Story Time Tips
- We focused mainly on the story “The Princess and the Baby” starting on page 84 of The Rhyme Bible Storybook
.
- We took a minute to talk about Pharaoh (on the first page of the story) and how he is the mean guy/bad guy. I did mention that he was the mean guy because he said all the baby boys had to be thrown in the river, but I didn’t dwell on it because I could sense it was a little much for my sensitive hearted 2 1/2 year old.
- We pretended to be a baby like Moses.
Activity
Wrap your child up in a blanket and put them in a laundry basket to pretend to be baby Moses. Push them for a ride down the “Nile.” If you have it, you could even put a blue blanket under the basket for the water.
Discussion
Parent: “Where did Pharaoh say the baby boys had to go?”
Child: “The river.”
Parent: “Yeah, he was a mean guy! Where did Moses’ mom put him?”
Child: “In a basket.”
Parent: “Yep, she put him in a basket in the river so he’d be safe. Who found him?”
Child: “The princess.”
Parent: “Yep, that’s right. Moses grew up in the palace.”
Daily Craft
Day One – Baby Moses Coloring Page
http://www.toddler-activities-at-home.com/support-files/baby-moses.pdf
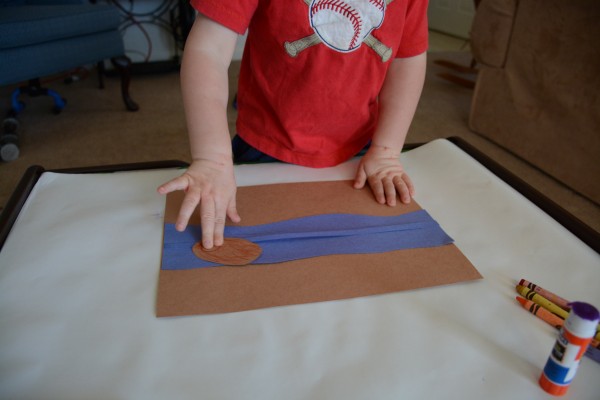
Day Two – Floating Down The River
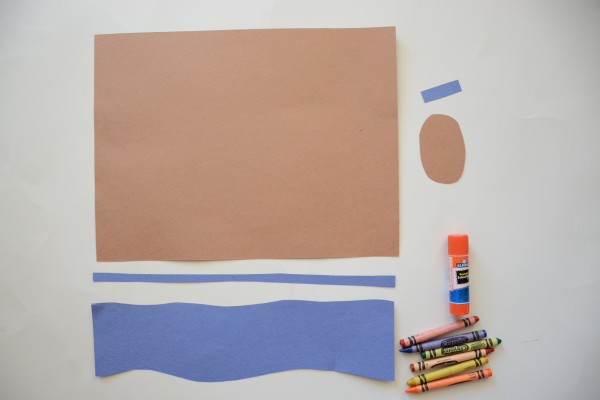
Materials needed:
- Brown piece of construction paper
- Skinny strip of blue construction paper
- Thicker strip of blue construction paper, cut wavy
- Short, skinny strip of blue construction paper
- Brown oval
- Glue stick
- Crayons
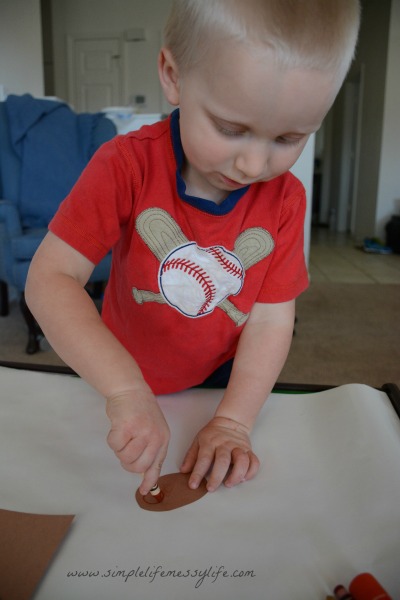 Start by making a little baby Moses figure on the oval. I drew a circle with a simple face and K colored in the rest to look like a blanket.
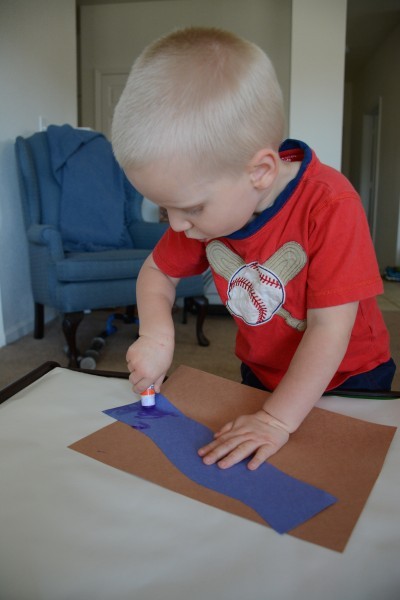
Put some glue on the back of the wavy blue paper.
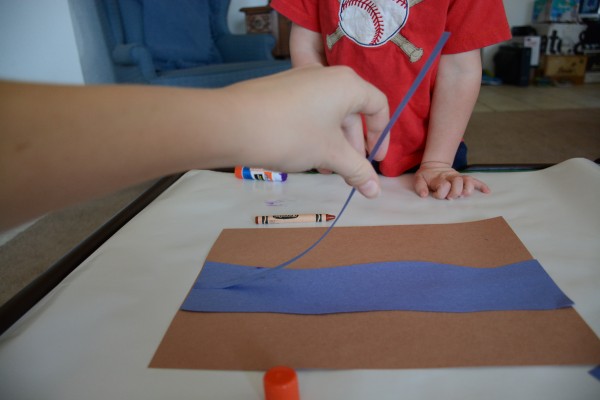
Put in down the middle of the brown piece of paper. This will be your “river.”
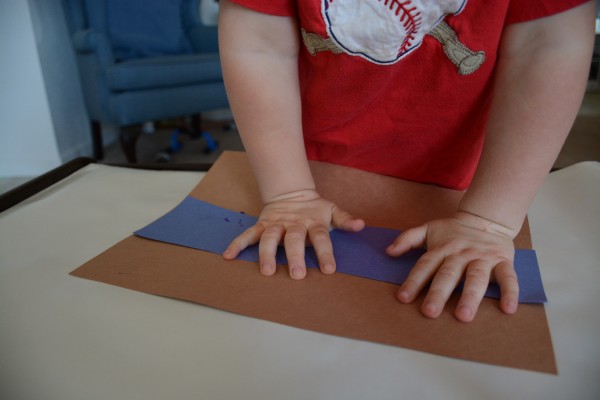
Next, glue the skinny piece of blue paper down the middle of the river. Only glue it on one side.
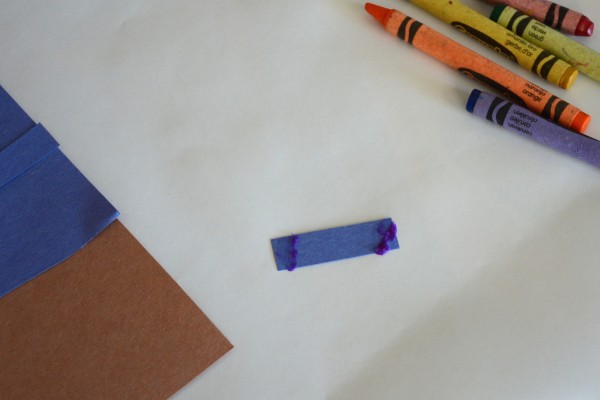
Put some glue on the tips of the little strip of blue paper.
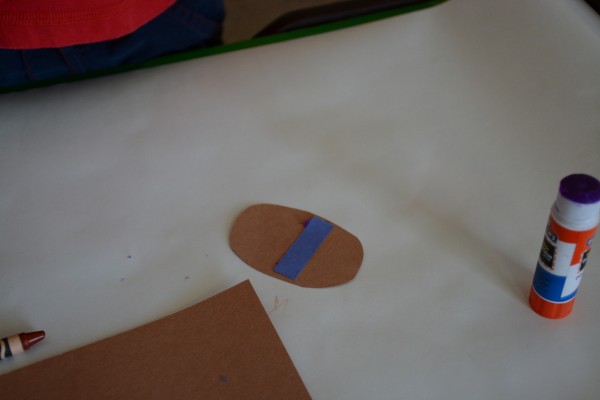
Put the blue strip on the back of the brown oval.
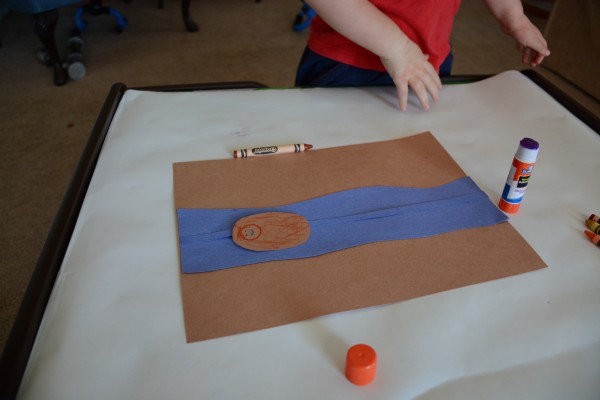
Slide the oval onto the skinny strip of paper and then glue the other side down.
Now baby Moses can slide up and down the river! Just learn from our mistake and let it dry first! 🙂
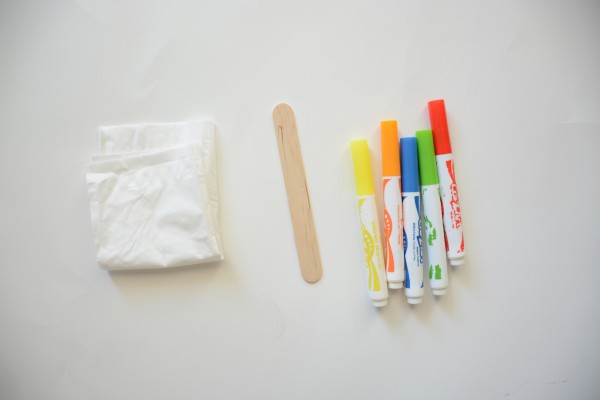
Day Three – Baby Moses
Materials needed:
- Tissue (alternately, a small piece of cloth)
- Large craft stick
- Markers
- Scissors (not pictured)
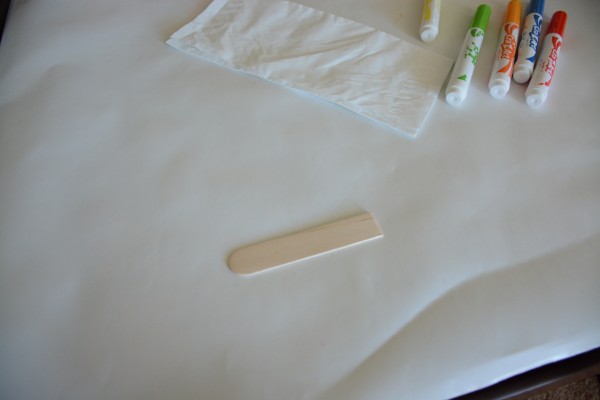 First, cut off about a third of the craft stick.
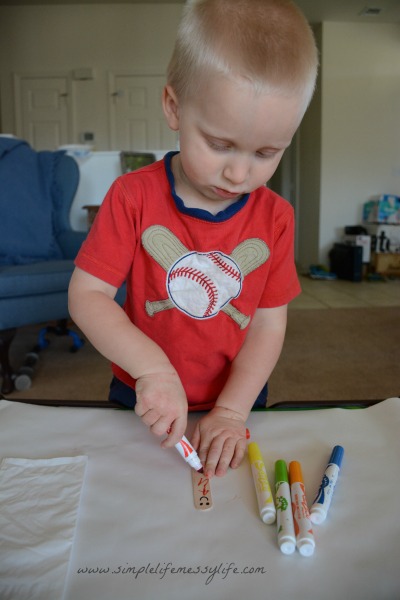 Add a face and color the “clothes.”
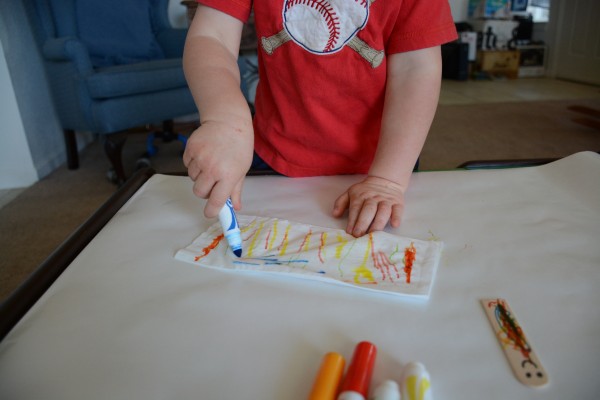 Then, color your tissue “blanket.” K decided to practice his lines.
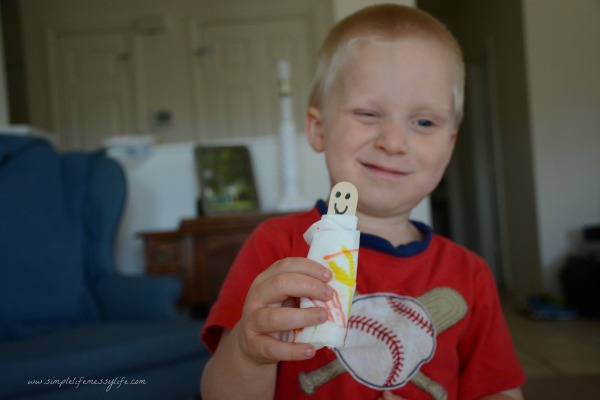 Wrap baby Moses in his blanket. Funny face optional. 🙂
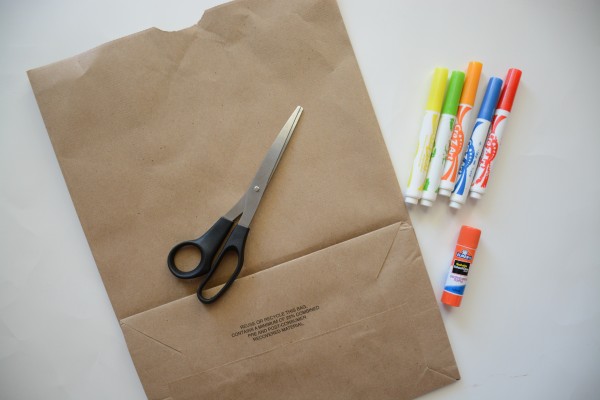
Day Four – The Basket
Materials needed:
- Paper sack
- Scissors
- Markers
- Glue Stick
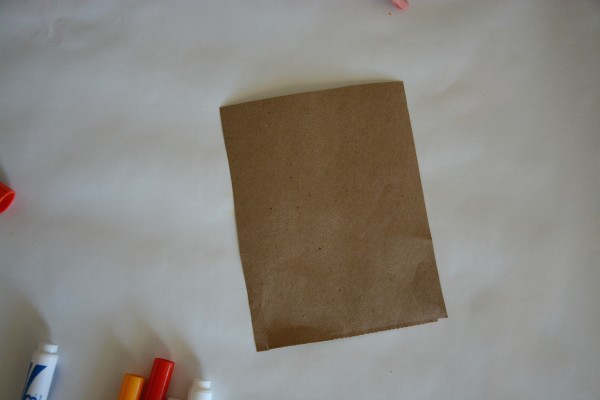 Cut a rectangle out of the paper sack. Our was probably approximately 6×4 inches.
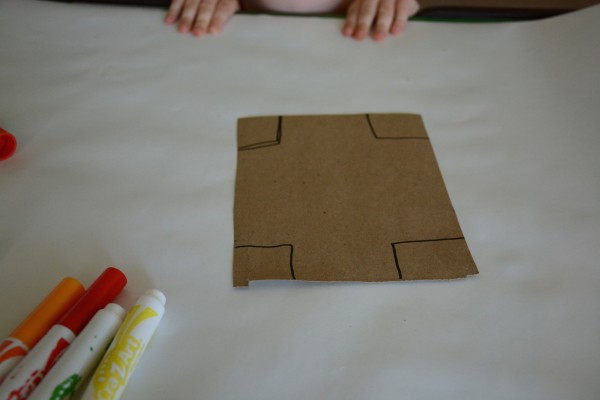 Mark approximately one inch squares in the corners of the paper and cut them out.
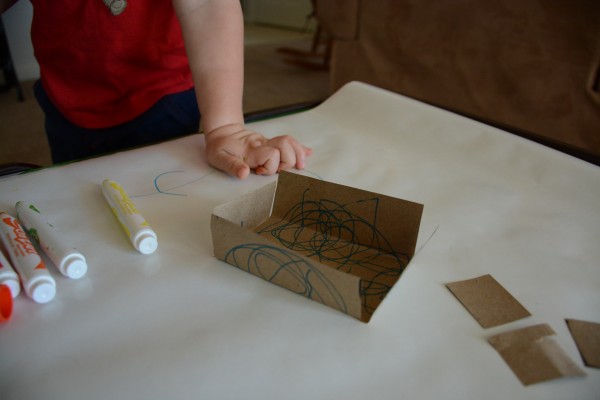
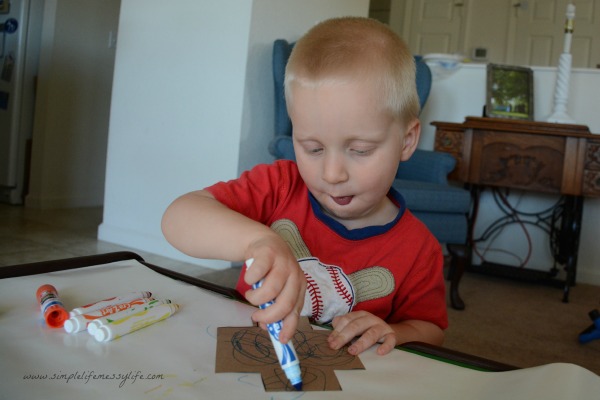 Color one or both sides of the paper.
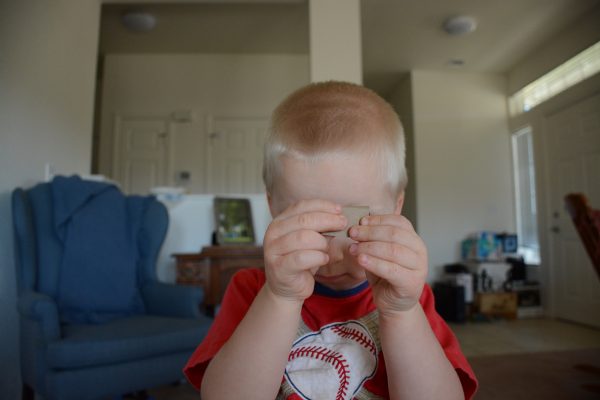
Grab those little squares you cut out earlier.
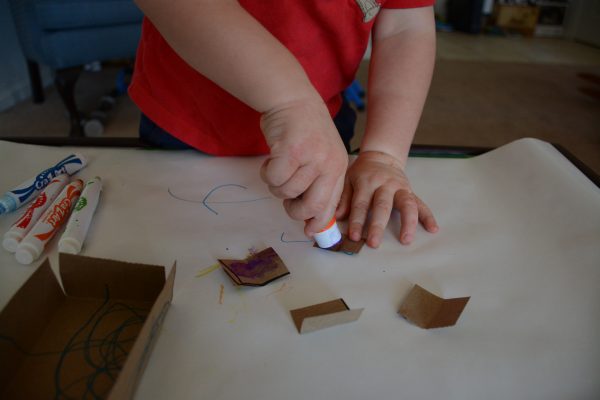
Fold those squares in half and coat the inside with the glue stick.
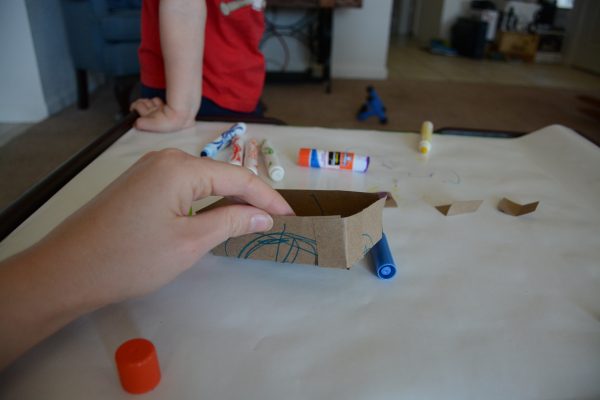
Use the squares to hold the corners together.
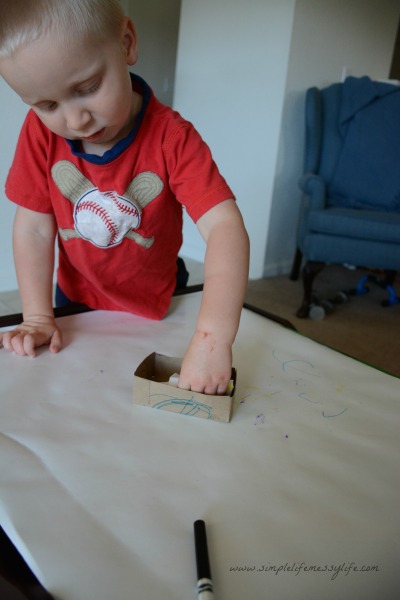
Put baby Moses in his basket.
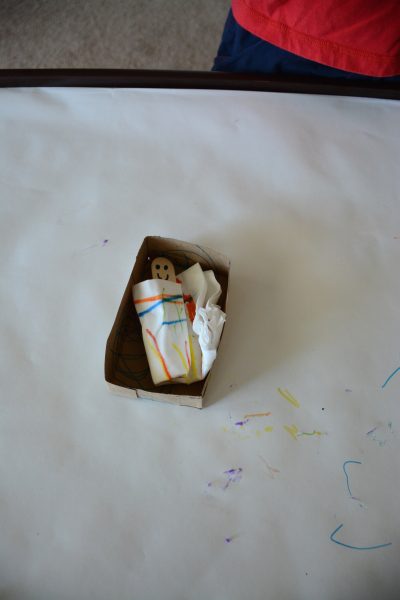
All nestled in!
Day Five: The River
Materials needed:
- Cereal box
- 2-3 sheets of blue construction paper
- Blue marker
- Glue stick
- Scissors
- Elmer’s glue (not pictured)
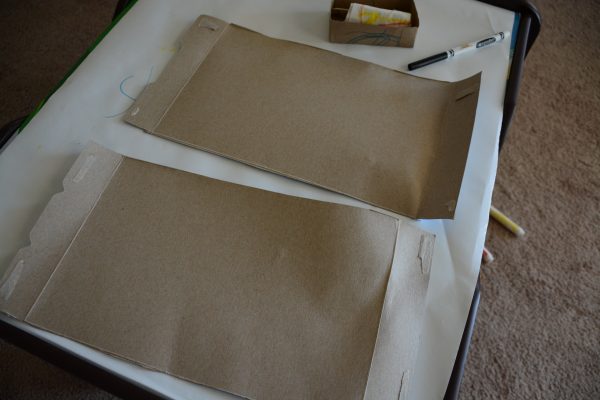
Cut out the sides of the cereal box.
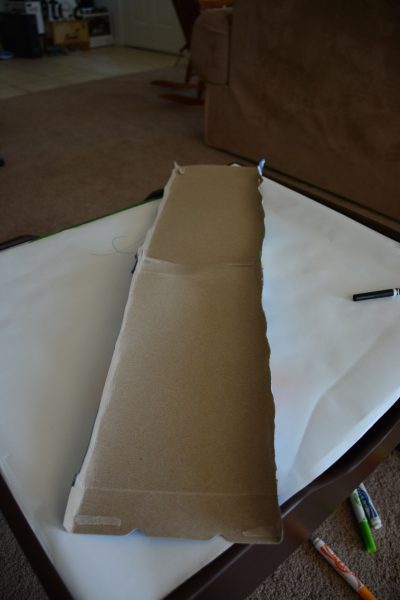
Bend up the sides of the cardboard about an inch.
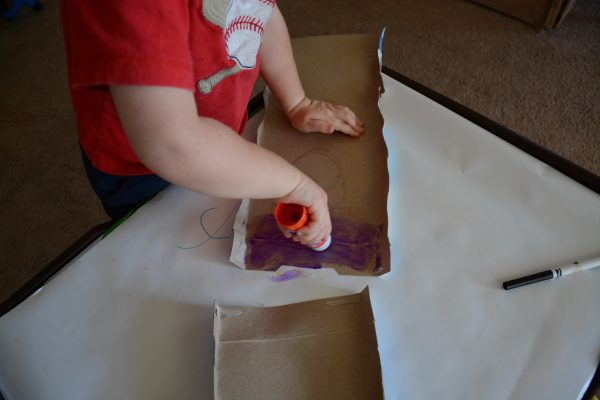
Glue the two pieces together.
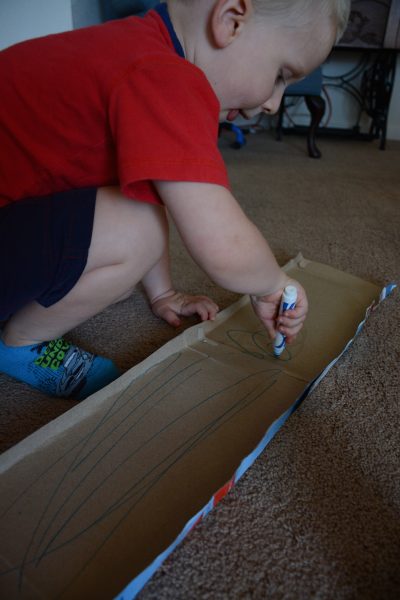
Use the blue marker to color in the brown cardboard a bit. We didn’t find this made that much of a difference though, so you could skip it if you want.
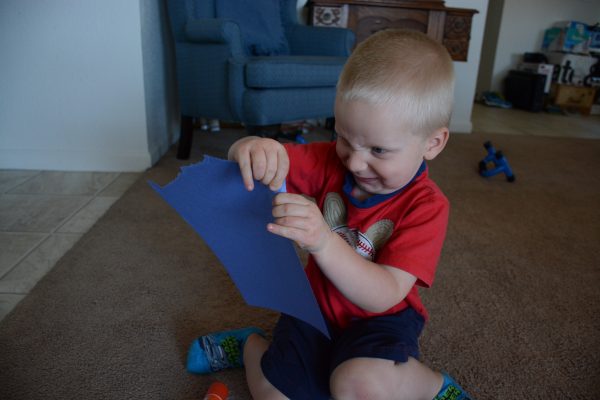
Next is the fun part. Take the blue paper and tear it into smaller pieces. Using a fierce face is most definitely a requirement for this task!
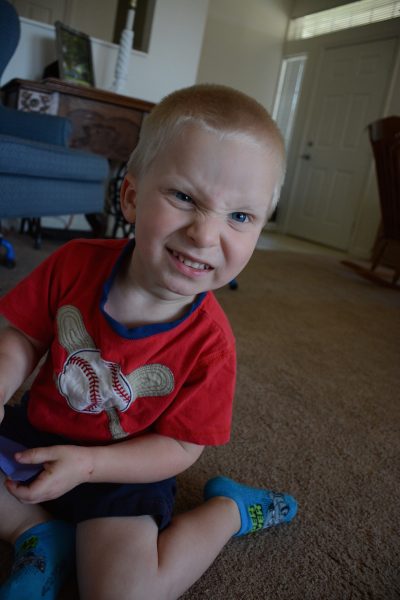
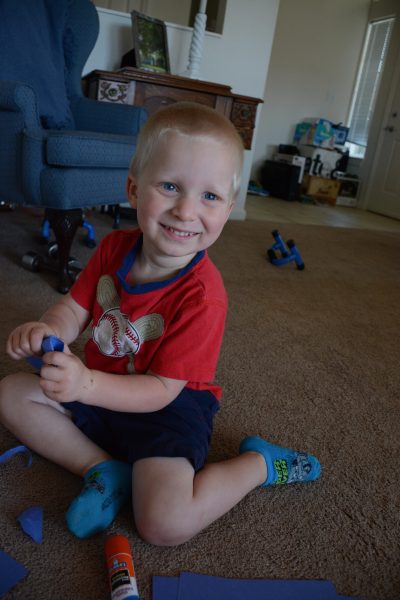
Now doesn’t that look like fun?!
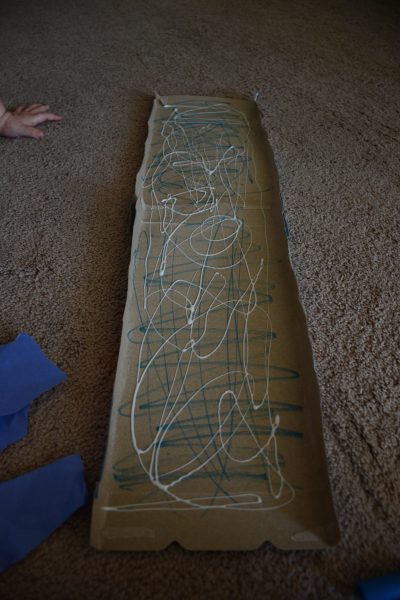
Next, drizzle some glue inside your boxes. I was going to use a glue stick, but decided Elmer’s glue would be easier.
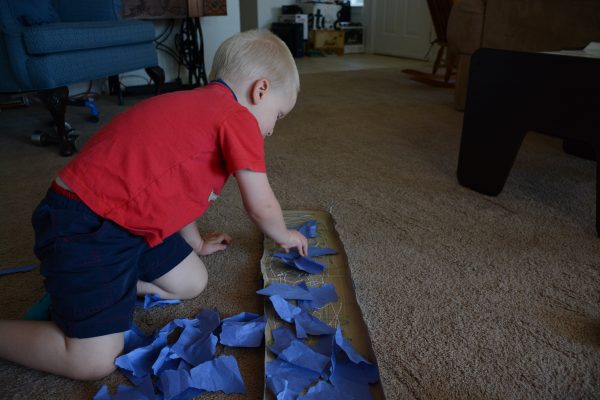
Take your torn and crumpled pieces of blue paper and place it in the glue.
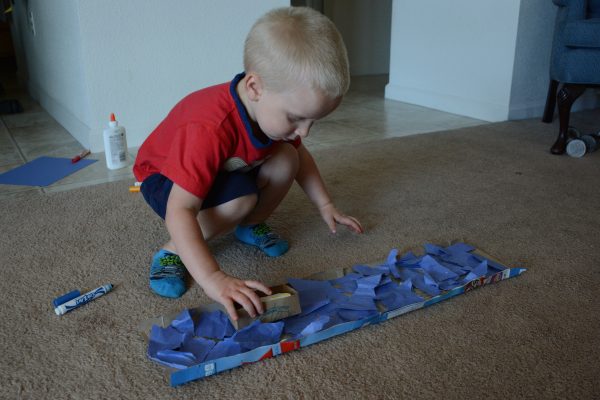
Grab your Moses and basket and play pretend!
Extra Resources
This song is definitely a little old school – but my son still loved it!
I hope you enjoyed week six of Play Through The Bible. I’d love to hear from you! Leave a comment below or use the hashtag #playthroughthebible on Twitter or Instagram!
Affiliate links included.


Very good illustrations thanks for these very easy practical lessons..
Thanks for these resources. They’re great!
My boys (6, 5, and 3) are on this baby Moses week. They have their rivers and baskets and baby Moses out on the floor right now as they tell each other the story. Thank you for putting this resource together! I also purchased your Play Through the Bible volume 1 and like to combine all the crafts from the book and the website. Looking forward to volume two when it comes out!