Noah – Play Through The Bible – Week Three
 Week 3 of Play Through The Bible is all about Noah. Although Noah and the flood is a common story used for children’s toys, books, and activities it can still be overwhelming to think of breaking down such a complex story for little ears. We decided to focus on one very important part of the story – that Noah obeyed God – remembering that further themes can be delved into in the future.
If you haven’t read the introduction to this series yet I recommend going here. For week one’s plans you can go here. For week two’s plans you can go here.
Week Three – Noah
Focus Point
Noah obeyed God.
Story Time Tips
- We read “Safe in the Boat” starting on page 28 of The Rhyme Bible Storybook
and “The Floating Zoo” starting on page 18 of The Rhyme Bible Storybook for Toddlers
.
- When you finish reading through the story, go back to the beginning of the story and talk about how God was sad (make a sad face) because no one was obeying him and everyone was being mean and bad. Flip back a few pages and ask “did Adam and Eve obey God?” Talk about how Noah did obey God.
- Keep the main focus on Noah obeying God, even though no one else was. However, you can also point out that because Noah obeyed God, he kept Noah safe in the boat.
Activity
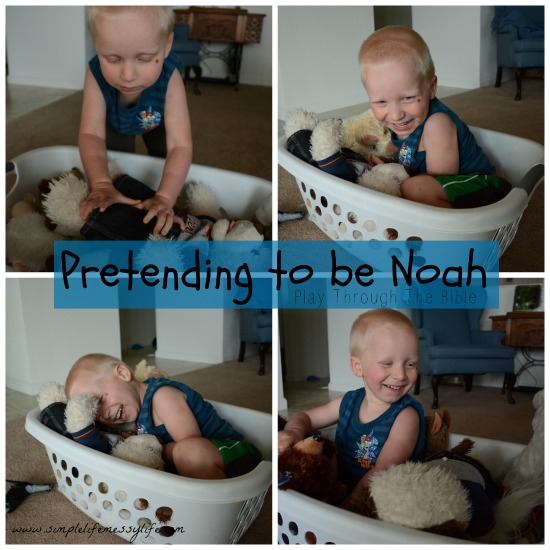
Gather up some stuffed animals and a laundry basket. Tell your child he or she gets to pretend to be Noah and put all the animals in the laundry basket “boat.” Then, he or she can climb in and sail the boat through the storm (we put a blue blanket under our “boat” and I shook it for “waves”). Finally, take all the animals out when the storm has past and the flood is over. This a great activity for reinforcing Noah’s name and what he did by calling your child “Noah” and asking if he is obeying God.
Discussion
Parent: “Did Noah obey God?”
Child: “Yes”
Parent: “What happened when Noah obeyed God?”
Child: “God kept him safe in the boat.”
Daily Craft
Day One – Noah Coloring Page
http://www.coloring.ws/noah.htm
Day Two – Build an Ark
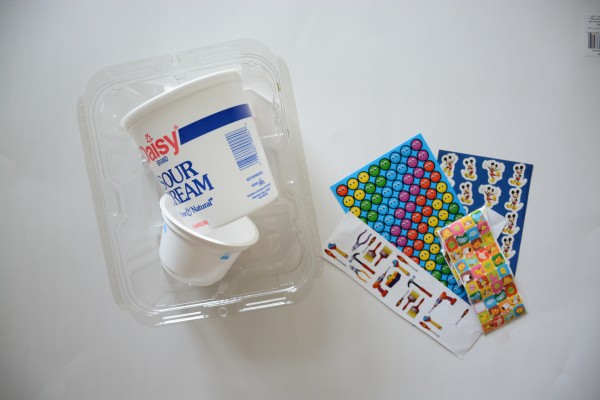
Materials needed:
- Recycled container (that won’t leak)
- Stickers
- Toy animals
and people (optional, not pictured)
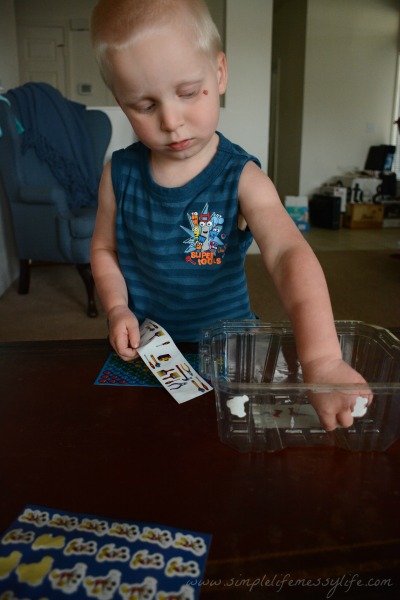
I gave K the option of what container to use and he chose the big one (I think it originally had spinach in it). Any kind of water proof container will work. I later came across a rotisserie chicken container that would have been perfect!
Use stickers to decorate the boat. You could also use permanent markers, but stickers were good enough for K.
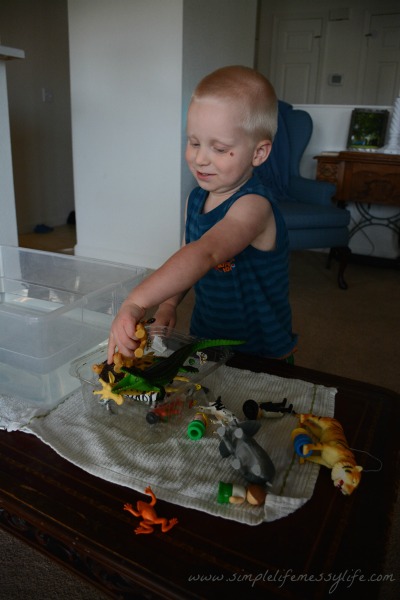
Grab some small toy animals (any kind will work!) and a few people to be Noah and his family. Load them into your ark.
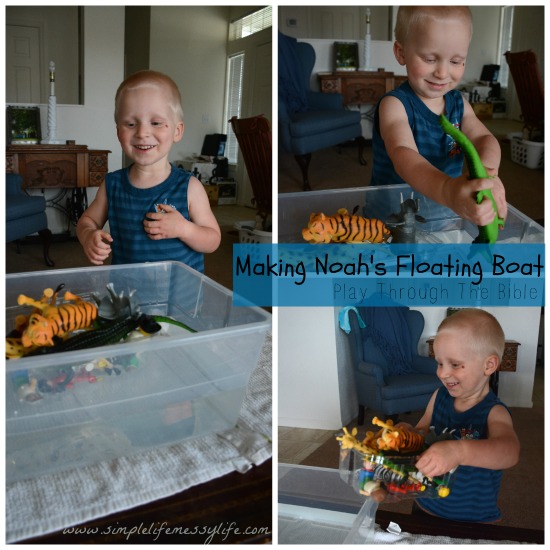
You could just pretend to float the boat with what you’ve got so far, but if you’ve got the time add some real water for more fun! Grab a tub (we emptied out our tinker-toys to use this one) and fill it with some water. This activity kept K engaged for a long time. He is a big fan of the water and thought it was pretty awesome that his boat actually floated! If you don’t have a good container another option would be to bring your ark into the tub for bath time.
Day Three – Animals on Board
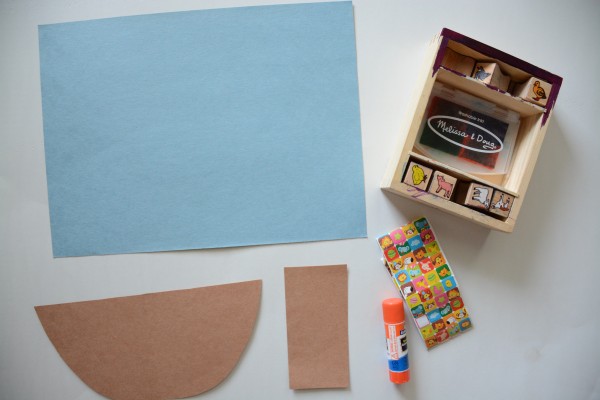
Materials needed:
- Blue piece of construction paper
- Brown piece of construction paper
cut into a half circle and a rectangle
- Animal stamps
or animal stickers
- Glue stick
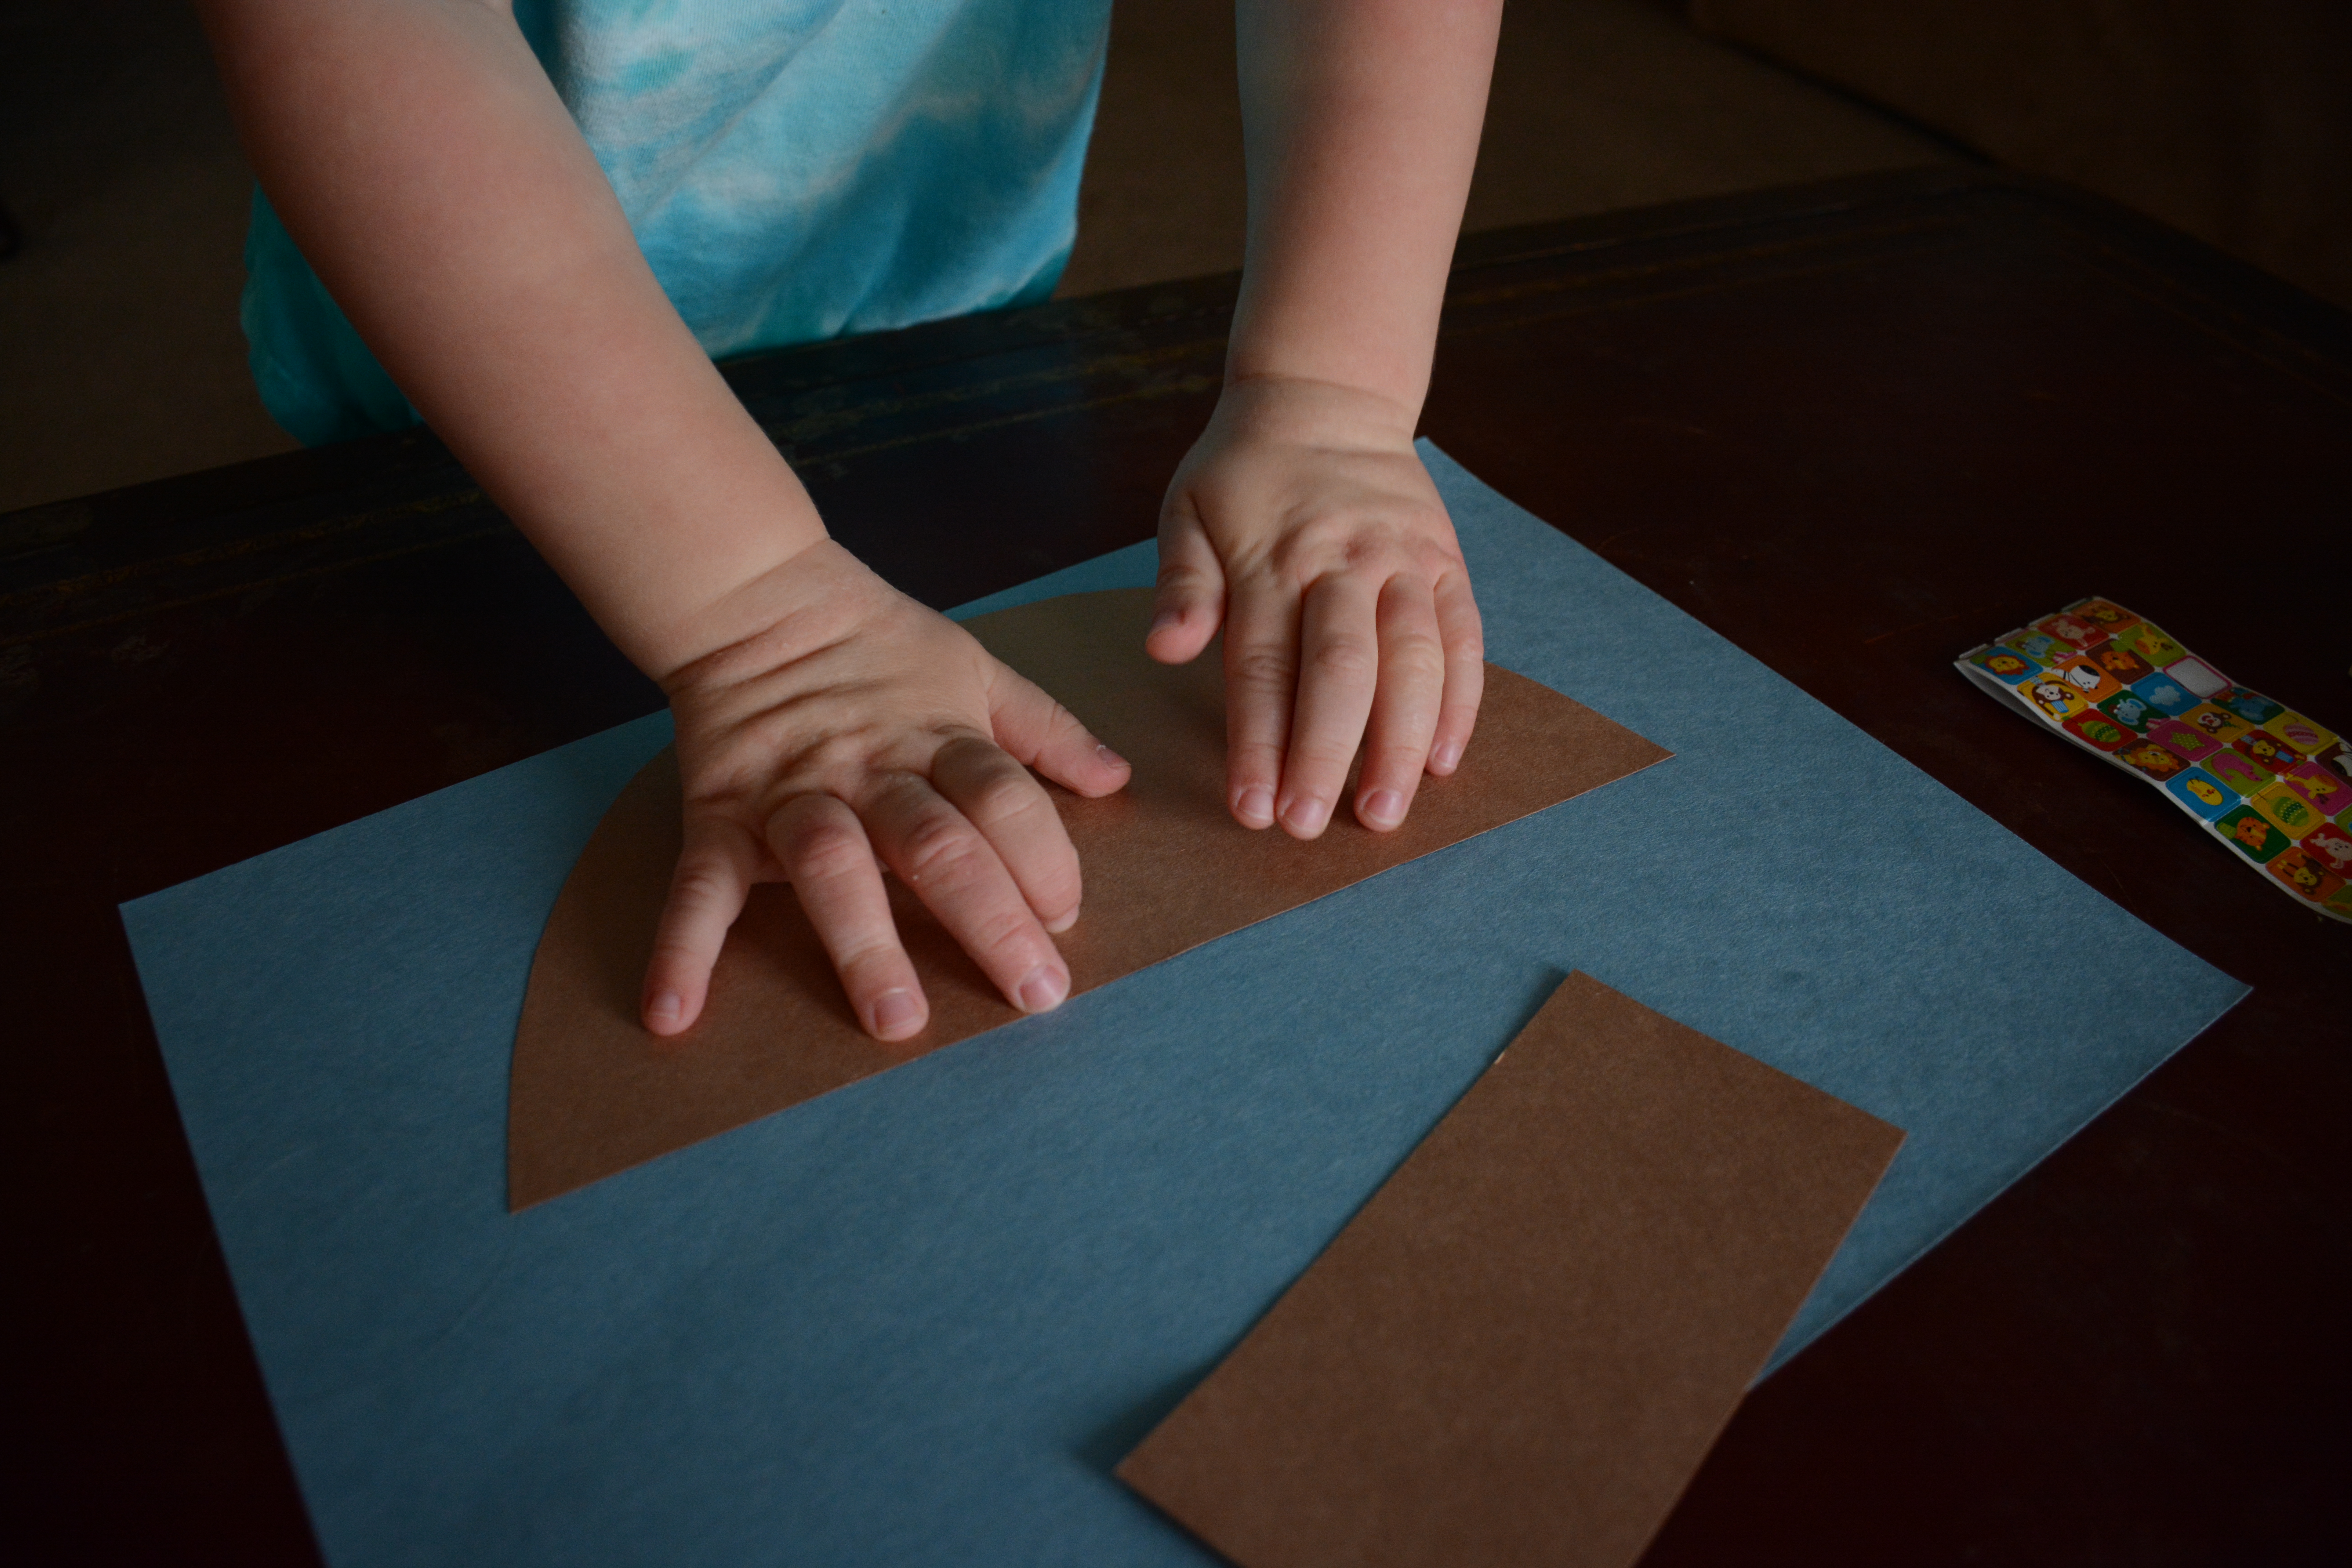
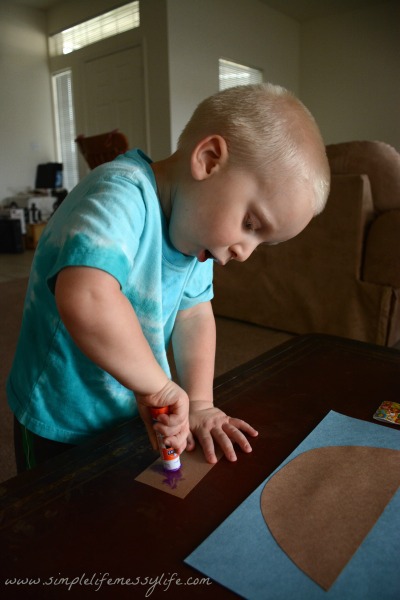
Put some glue on the half circle and place it at the bottom of the blue paper.
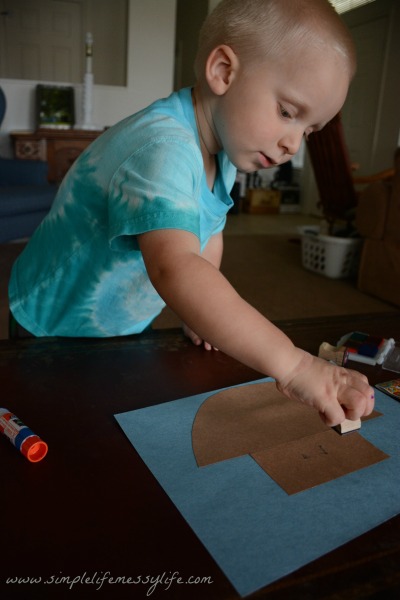
Then, glue the rectangle and place on top of the half-circle.
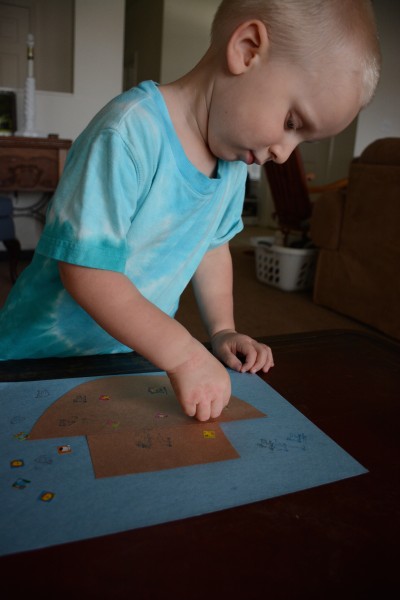
Use the animal stamps to make animals on and around the ark.
And/or you could use animal stickers. If you don’t have animal stamps or animal stickers you could cut pictures of animals out of a magazine (or print off pictures from the internet) and glue them onto your ark.
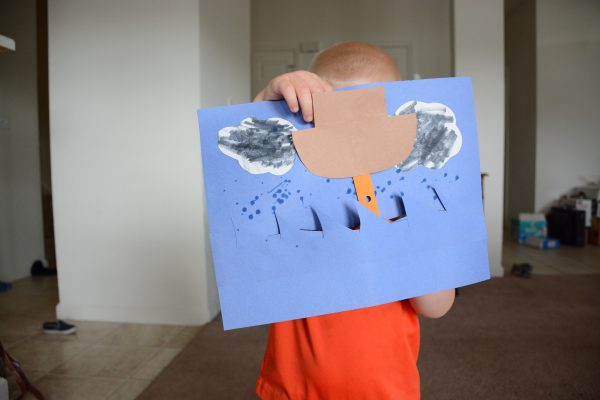
Day Four – The Floating Boat
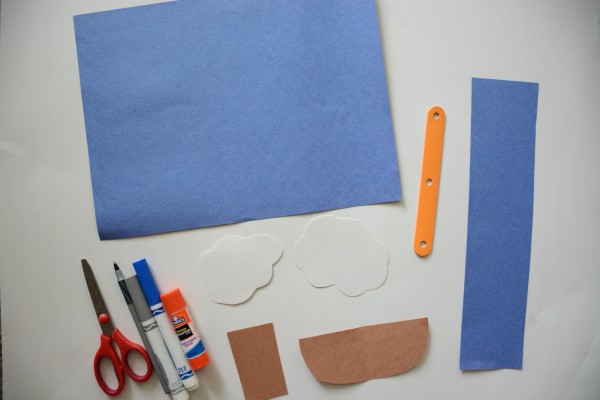
Materials needed:
- Blue piece of construction paper
- Blue piece of construction paper
cut into a long narrow rectangle
- Brown construction paper
cut into a small half circle and a rectangle
- White construction paper
cut into clouds
- Craft sticks
- Glue stick
- Scissors
- Pen or pencil
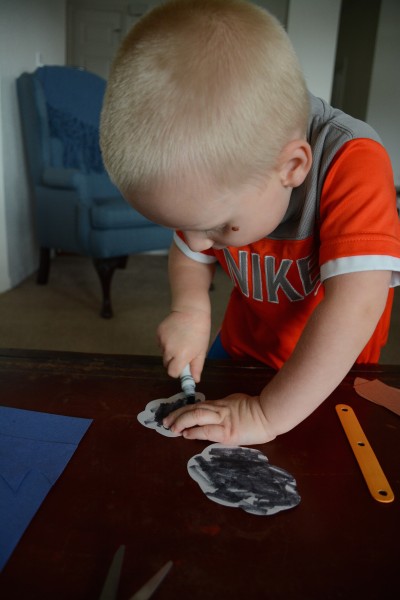
- Blue and gray markers
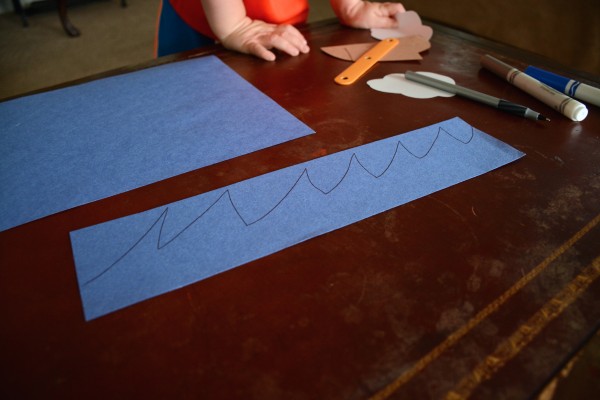
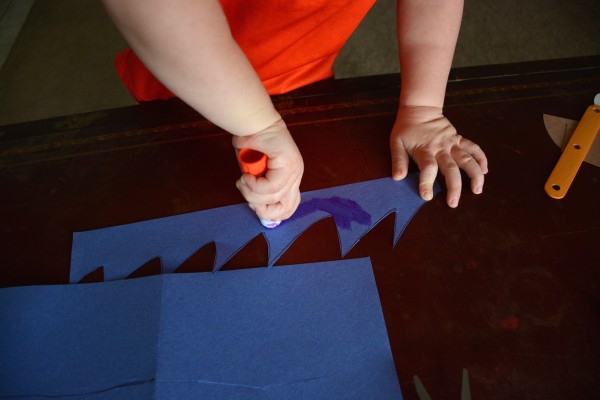
First, take the skinny piece of blue paper and trace some waves on it. It’s a crazy storm, so don’t worry about them looking perfect!
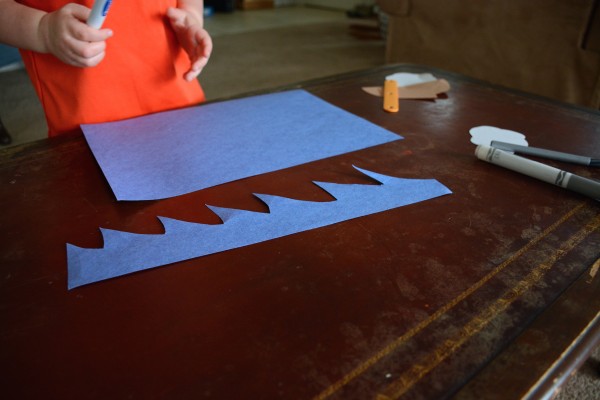
Once you’ve traced your waves, cut them out.
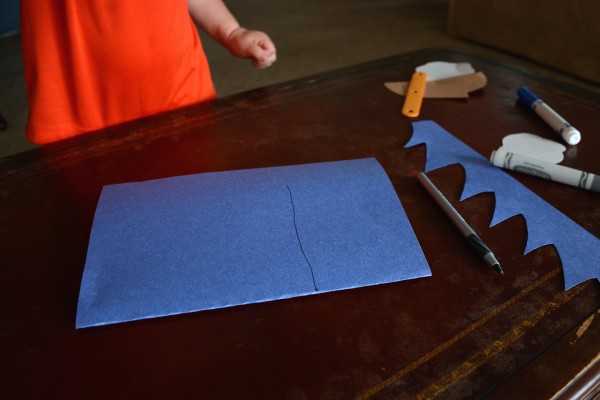
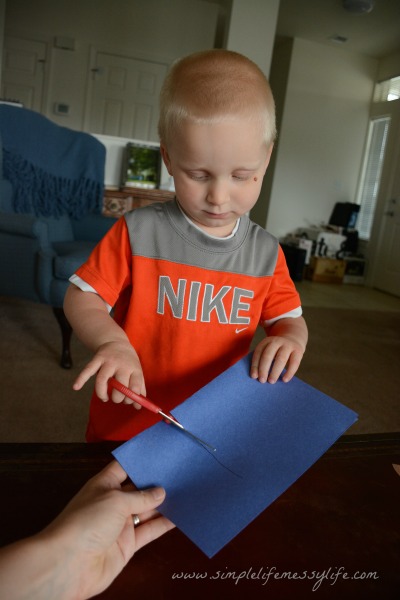
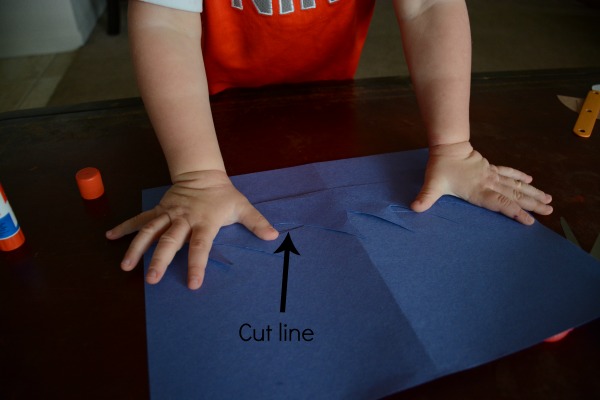
Next, fold your other blue piece of paper in half (hamburger way) and draw a line two thirds of the way towards the bottom. The line should start in the center and almost reach the outside of the paper.
Cut along the line. This is a great, easy cut for a beginning scissor user.
Open up the big blue paper and put some glue on the back of the waves.
Glue the waves just below the line you cut.
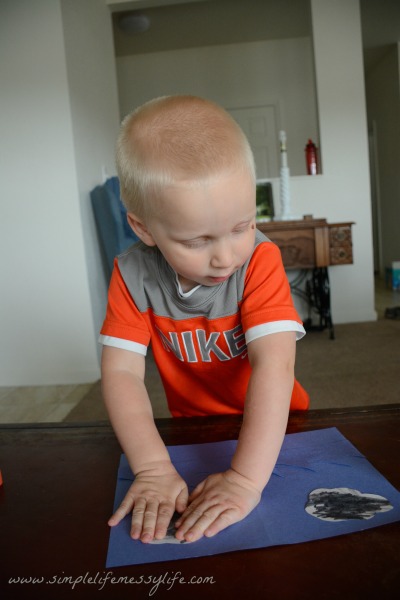
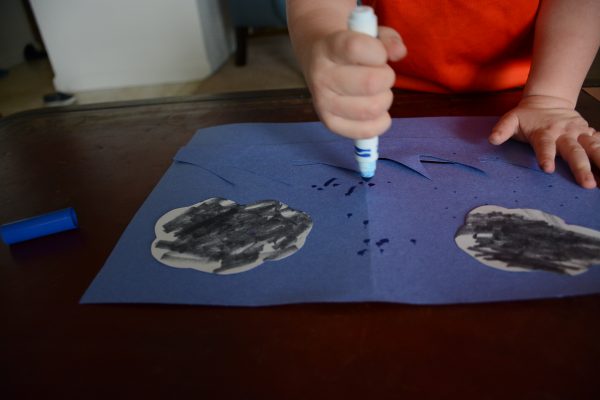
Next, color those white clouds gray so they look more like storm clouds.
Glue the clouds to the top of your page.
Use the blue marker to add some rain.
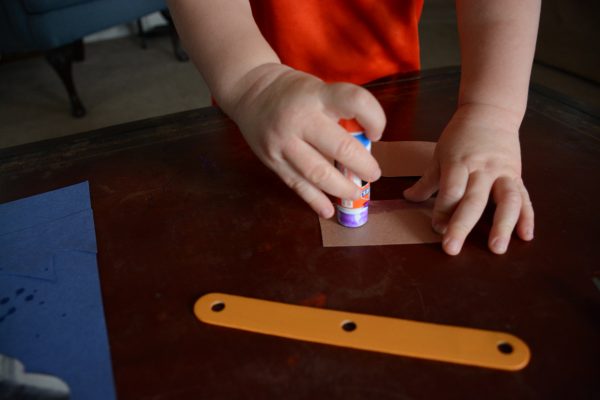
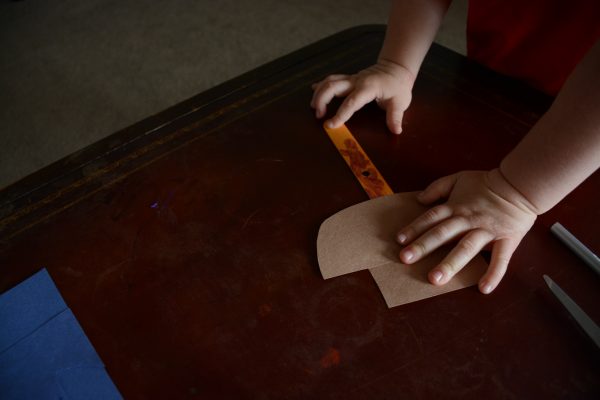
Next, you are going to need to assemble your ark puppet. First, glue the top of the ark to the bottom.
Then, glue the ark to the craft stick.
Put the puppet through the slit on your paper and you’ve got a stormy background for your ark to float in.
Day Five: Rainbow
Materials needed:
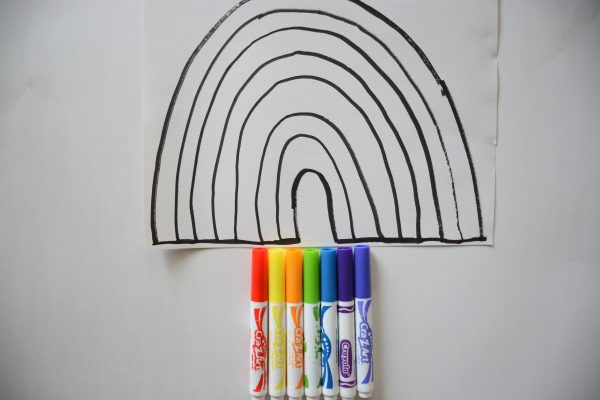
- White piece of paper with a rainbow outline drawn on it (or you could print one out here)
- Markers or crayons in the color of a rainbow (red, orange, yellow, green, blue, indigo, violet)
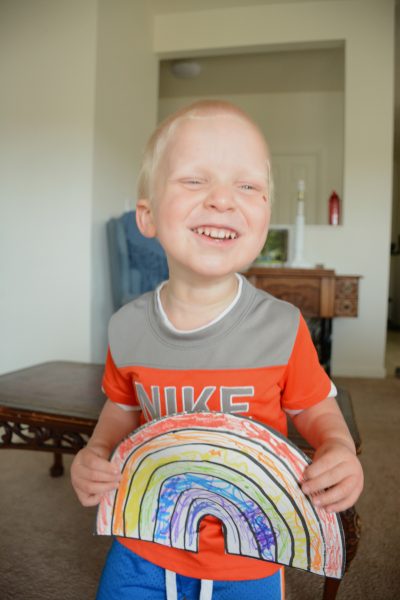
After yesterday’s detailed craft, I decided to go for a simple one on day five. All we did was color a rainbow, talking about how God made a promise to Noah. Since K is getting a little better at coloring, I decided to give him the challenge of putting the right colors in-between the lines. I made it a little easier on him (shown in the top right picture) by marking which color went where. We worked on it together and he did a pretty good job!
After he was done coloring I cut the rainbow out for him and he was pretty proud of his work!
Extra Resources
I found two songs via youtube about Noah that K loved.
We also enjoyed the book On Noah’s Ark by Jan Brett
I hope you enjoyed week three of Play Through The Bible. I’d love to hear from you! Leave a comment below or use the hashtag #playthroughthebible on Twitter or Instagram!
Affiliate links included. Thank you for using your purchases to help support Simple Life. Messy Life.



This was very well written and Illustrated your model for your pictures is very handsome.
I just absolutely love your lessons! They have greatly blessed our family 🙂
I wasn’t sure if it’s my tablet but a few of the lessons won’t show the pictures. The pictures are a tremendous help.
God Bless,
Jennifer
Yes, sorry about that! A while back I made some blog changes and lost some pictures. I have been slowly fixing them as I have had time. I will try to get these ones replaced this week if I can!
Liz, we got our new Rhyme Bible in the mail recently and are starting on this whole set of great ideas you have tomorrow! Thank you for sharing this for all of us to see!
Several of the days have missing pictures. It just has the red words where the pictures should be but when you click on them, I cannot see the images.
It tends to be toward the bottom of each page. I hope you can fix it 🙂 The pictures help so much!
Carrie,
I’m so glad you are going to be doing Play Through the Bible! I’m sorry about the pictures, a lot of them got messed up a while back and I still haven’t been able to get all of them fixed. I had laptop problems for a while too, which is were the pictures were stored! I have access to the pictures again, so I am going to start fixing the missing ones again. Hopefully they will be all set soon! 🙂
These posts have actually been really fun for my Sunday School preschool class! Some adaptation required, but still, what a great resource even in the small classroom setting. Thank you for following what I know is the Holy Spirit guiding you as you provide this ministry!
I really love this and the concept. It teaches about obedience. Thank you so much.
Thank you so much for sharing these wonderful ideas. I’ve been slowly but surely working through them with my daughter and she absolutely loves it. Passing this along to friends with toddlers too!
I’m so glad they have been helpful to you!