No-Sew Superhero Cape and Character Badges Tutorial {Hero Training Series}
Before we get started with the Hero Training challenges, I wanted to share with you an optional, but super fun idea. A superhero cape with character “badges”!
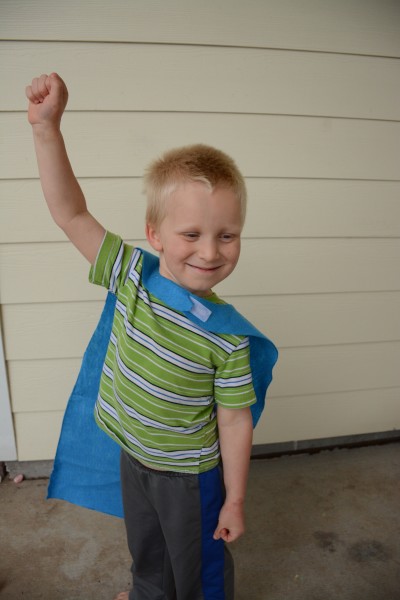
I thought it would be fun to keep track of the completion of the challenges similar to scouts with their vests and badges, but with a super hero cape. It turned out really neat!
Now, before you run away thinking that making capes is not your crafty cup of tea, keep reading to see just how easy this is! While I can sew, I am a busy mama right now so I knew I needed something quick and simple. I didn’t even iron my crumply material!
So, even though it is definitely not a necessary part of the challenge, I hope you will check it out and maybe give it a try!
Supplies Needed:
- Large piece of felt in your color choice (mine was a big piece I already had, but you’ll probably need at least a 1/2 to 3/4 yard – get it from Amazon here, or from your local craft store with a coupon)
- Smaller pieces of felt in colors of your choice
- Permanent marker or fabric marker
- Velcro strip
- Glue (I used a hot glue gun, you can also use fabric glue)
- Scissors
Make it!
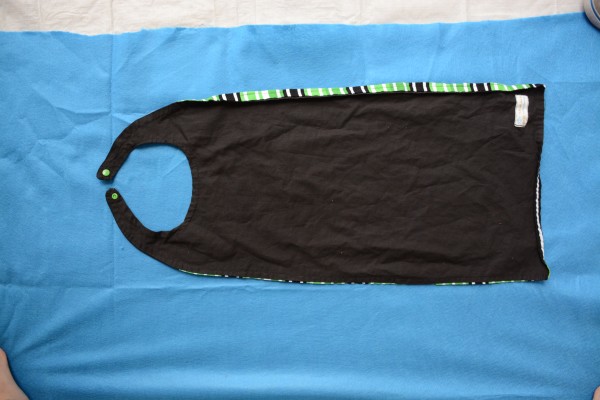
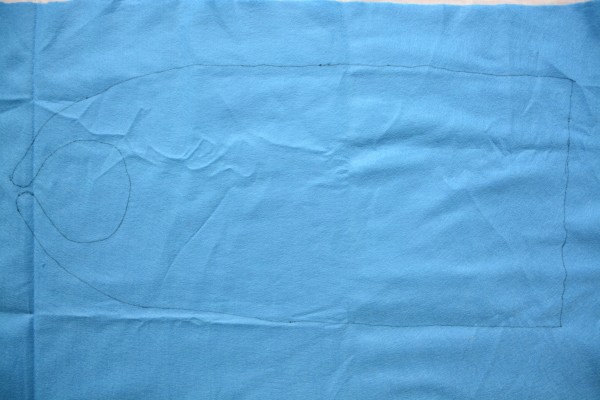
First, you are going to need to trace a cape outline. I just used K’s other cape as a guide. If you don’t already have a cape laying around, free hand it (it doesn’t have to be perfect!) or use one of your child’s t-shirts as a guide.
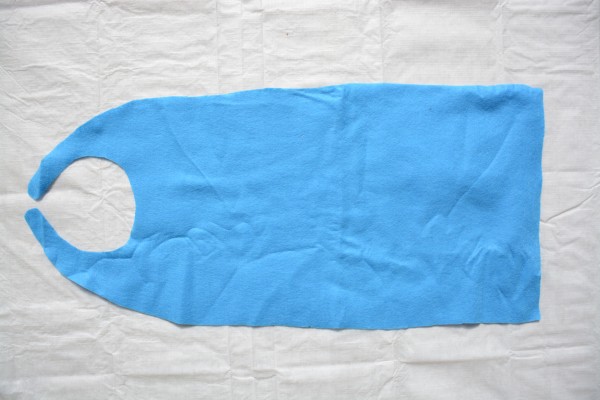
Next, cut out your cape shape.
It’s looking good already!
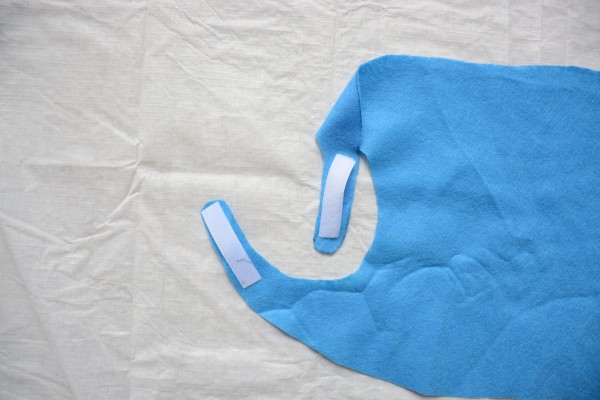
Next, you need to attach the velcro. I wasn’t sure if the hot glue gun would hold this – but it did a really good job! You could also sew it on if you wanted to make sure it really wasn’t going to rip off.
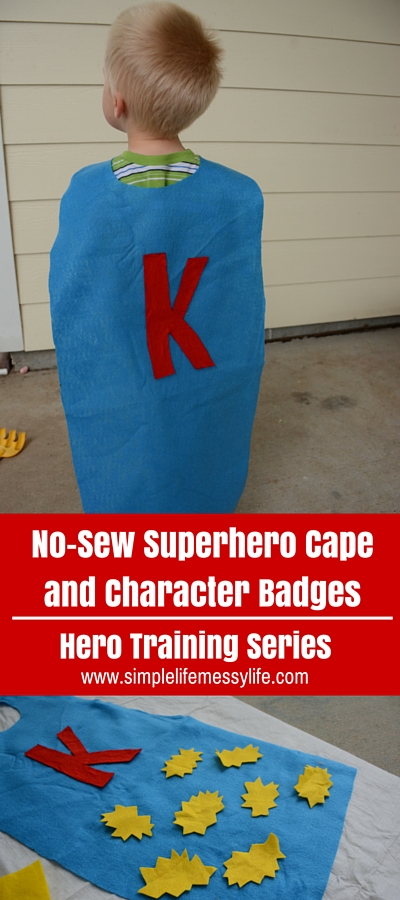
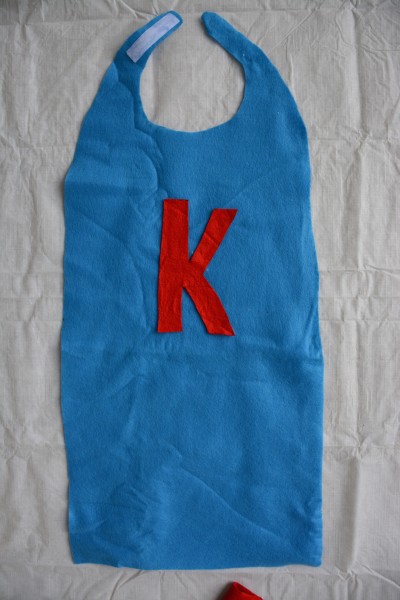
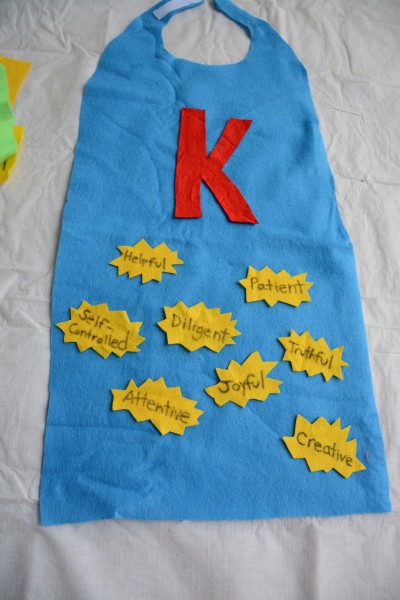
Now, at this point you can be done with the cape, or you can choose to add some embellishments. I kept it simple and added a red K onto the cape.
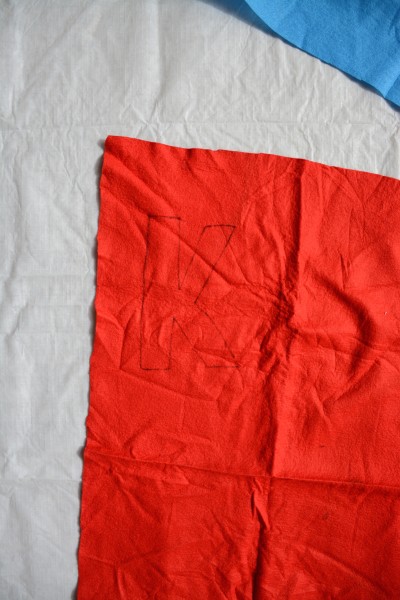
All I did was trace a K onto the red felt (I freehanded, but if you want something more precise you can always print a template) and then glued it onto the center of the cape.
Nice! Now is it time to make the “character badges.”
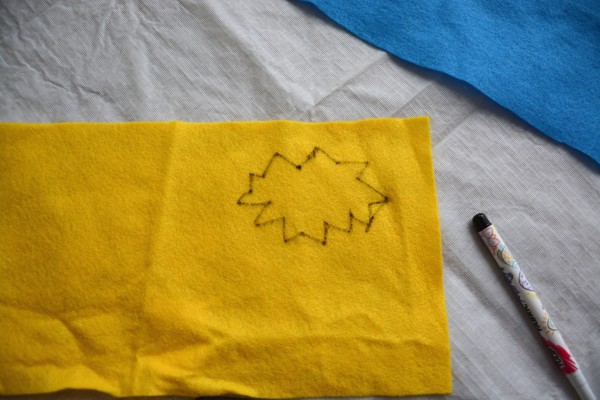
First, draw the outline of a burst onto your felt (I used yellow).
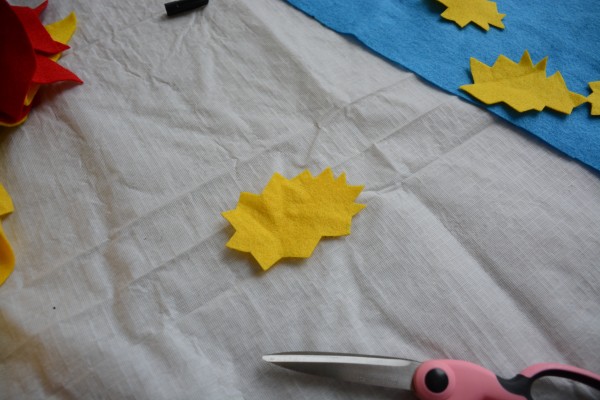
And cut it out!
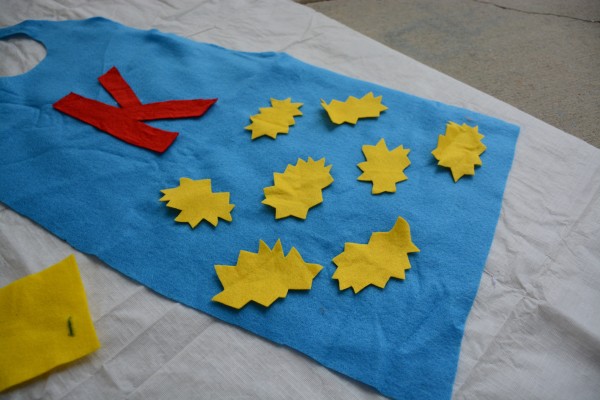
Repeat that seven more times! 🙂
Then, write the character traits on the bursts you cut out. The traits we are doing for this series are: helpful, patient, diligent, self-controlled, truthful, creative, attentive, and joyful.
Save these aside to glue on after you’ve completed the challenges for each character trait!
All done! You are ready for your hero training! (Don’t forget to grab your training chart and memory verse cards here!)
I hope you give it a try. If you do make one, I’d love to see your creation! Tag what you’ve made with #herotrainingcc
What do you think? Are you going to give it a go?
Affiliate links included. Thank you for using your purchases to help support Simple Life. Messy Life.

[…] Also, tune in later this week for a tutorial on another super fun way to document your child’s progress through the challenges – a (no-sew) super hero cape with character badges. […]
[…] you followed the tutorial here and made your own super hero cape and character badges, your child will have earned his or her […]
[…] completed all the challenges you’ve earned another character badge! Find the tutorial here to make your own super hero cape and character […]
[…] completed all the challenges you’ve earned another character badge! Find the tutorial here to make your own super hero cape and character […]
[…] completed all the challenges you’ve earned another character badge! Find the tutorial here to make your own super hero cape and character […]
[…] completed all the challenges you’ve earned another character badge! Find the tutorial here to make your own super hero cape and character […]
[…] completed all the challenges you’ve earned another character badge! Find the tutorial here to make your own super hero cape and character […]